Welcome to our Ansible for Beginners Tutorial series.
Let’s begin by installing Ansible on an Ubuntu server. If you don’t already have an Ubuntu server available, you will need to set one up. There are many ways to set up an Ubuntu server, one of which is on VMware Workstation. For help on this, see Install Ubuntu Server on VMware Workstation.
Ansible is a suite of software automation tools owned by Red Hat that enables infrastructure as code. It is open-source and includes software provisioning, configuration management, and application deployment functionality. Ansible can manage IT infrastructure environments from a centralized location using the popular SSH and WinRM protocols.
Ansible can be installed on various Linux distributions. For specific operating systems please see the Ansible documentation on Installing Ansible on specific operating systems.
Installing Ansible on Ubuntu Server
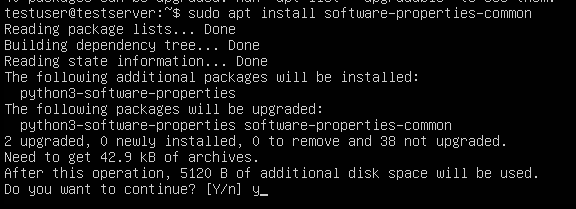
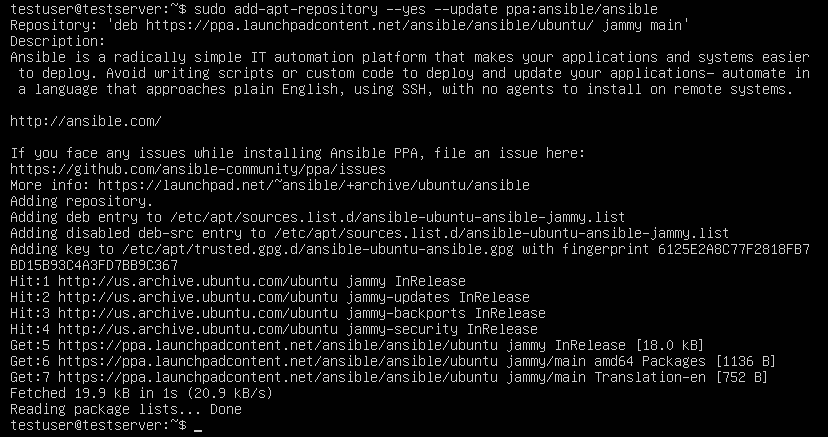
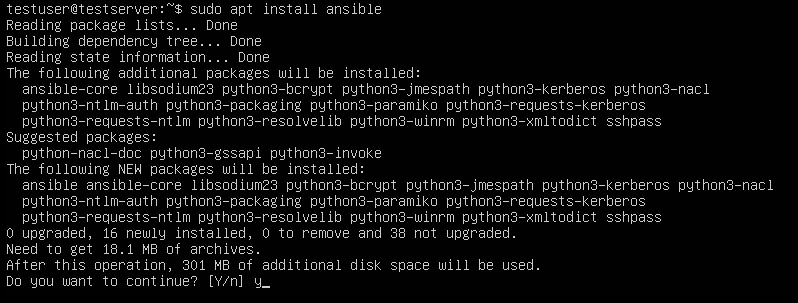
To install Ansible on Ubuntu Server 22.04 LTS, log into the server and run the following commands:
sudo apt updatesudo apt install software-properties-commonsudo add-apt-repository --yes --update ppa:ansible/ansiblesudo apt install ansibleVerify Ansible Installation
To verify the Ansible configuration, run the following command:
ansible --versionRun the following command to test the Ansible installation:
ansible -m ping localhostIn the example above, we called the ansible command with the ‘-m’ switch which stands for module. We then specified the name of the module, in this case, ‘ping’ to run a ping test. Finally, we specified the host to run the ping against, in our case localhost which is our Ubuntu Server, resulting in the following output:
So far so good. We now have an Ubuntu Server with Ansible installed and we were able to successfully run an Ansible command on it to ping localhost.
Now that Ansible is all set up and working on our system, we can proceed to configure VS Code.
Found this part of the tutorial helpful? Comment below… ↓


