Now that we have Ansible installed and functional on our Ubuntu Server, we are ready to start configuring VS code as our Integrated Development Environment (IDE) tool to help with coding. You can use an IDE of your choice or even a plain text editor, but we like to use VS Code.
Ansible is a suite of software automation tools owned by Red Hat that enables infrastructure as code. It is open-source and includes software provisioning, configuration management, and application deployment functionality. Ansible can manage IT infrastructure environments from a centralized location using the popular SSH and WinRM protocols.
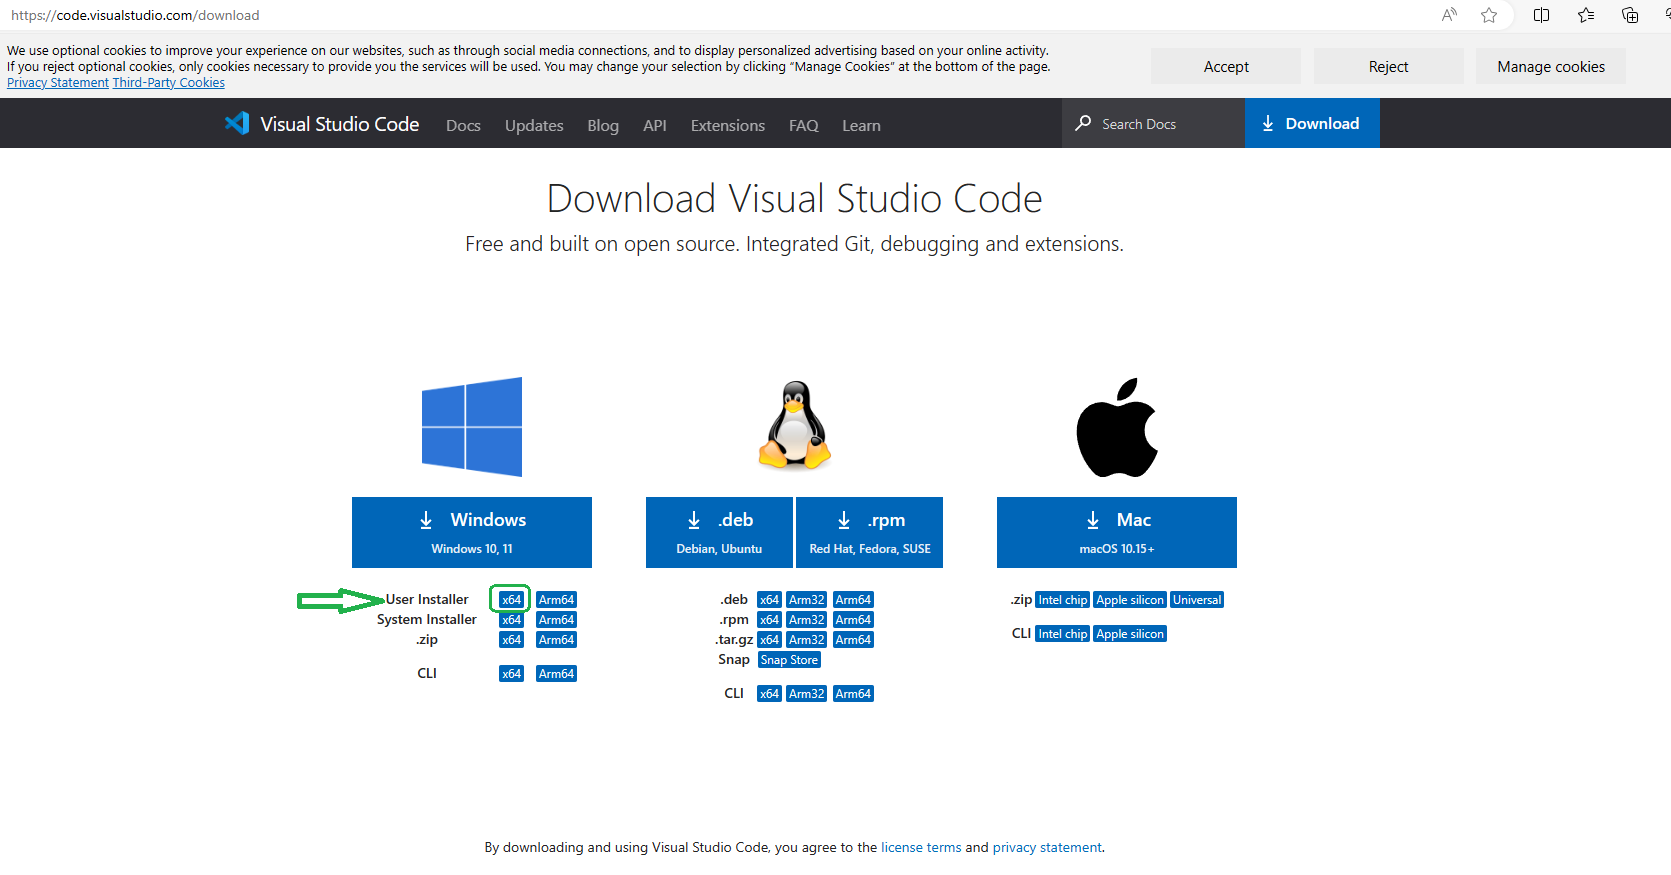
Step 1
Head over to https://code.visualstudio.com/download and download an appropriate version of VS Code for your operating system. In our case Windows | User Installer | x64.
Step 2
Locate the downloaded file and run it to begin the VS Code installation.

Step 3
Review and accept the license agreement. Click Next.

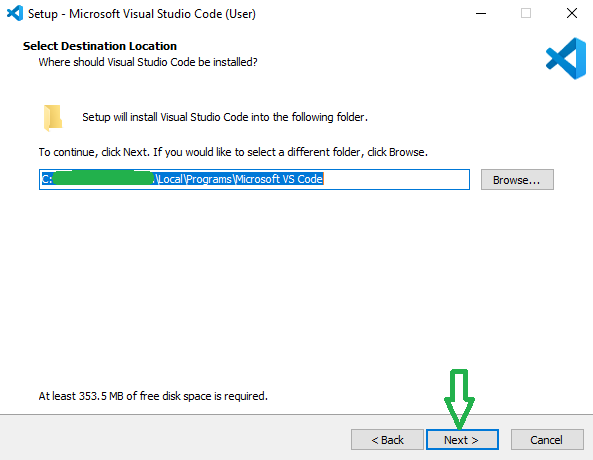
Step 4
Ensure the install location is correct and click Next.
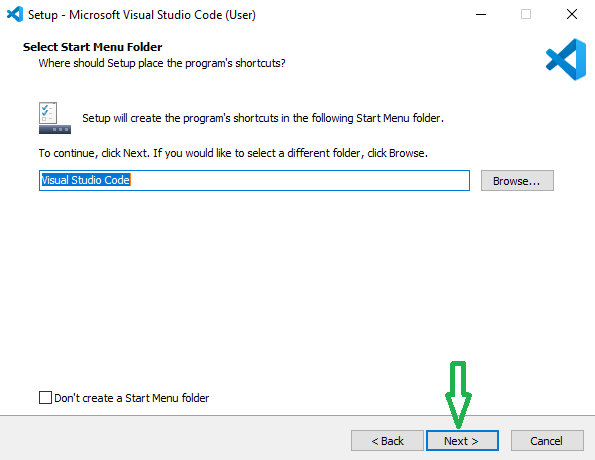
Step 5
Ensure shortcut folder is correct and click Next.
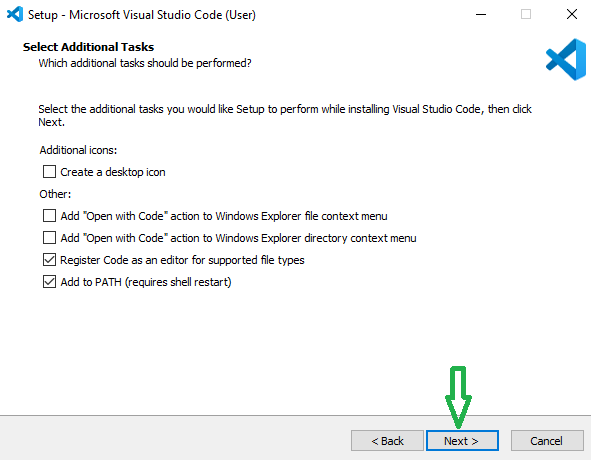
Step 6
Select any required additional tasks and click Next.
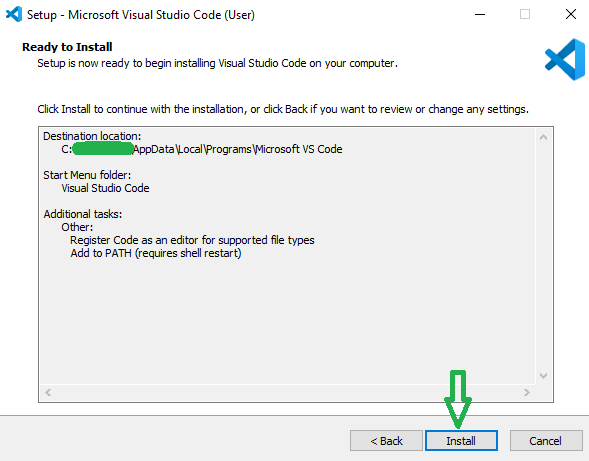
Step 7
Review installation settings and click Install.
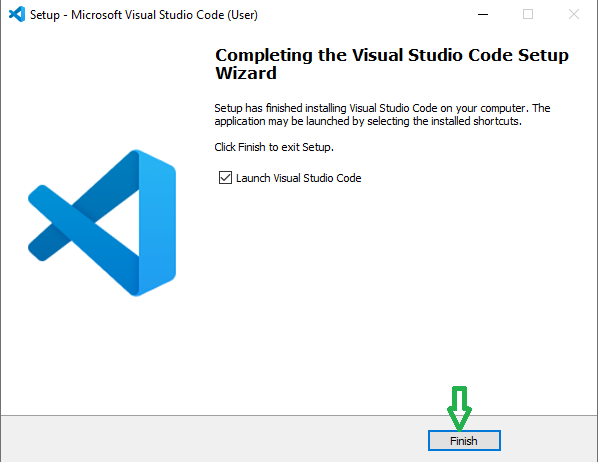
Step 8
When the installation completes, click Finish. VS Code will launch.
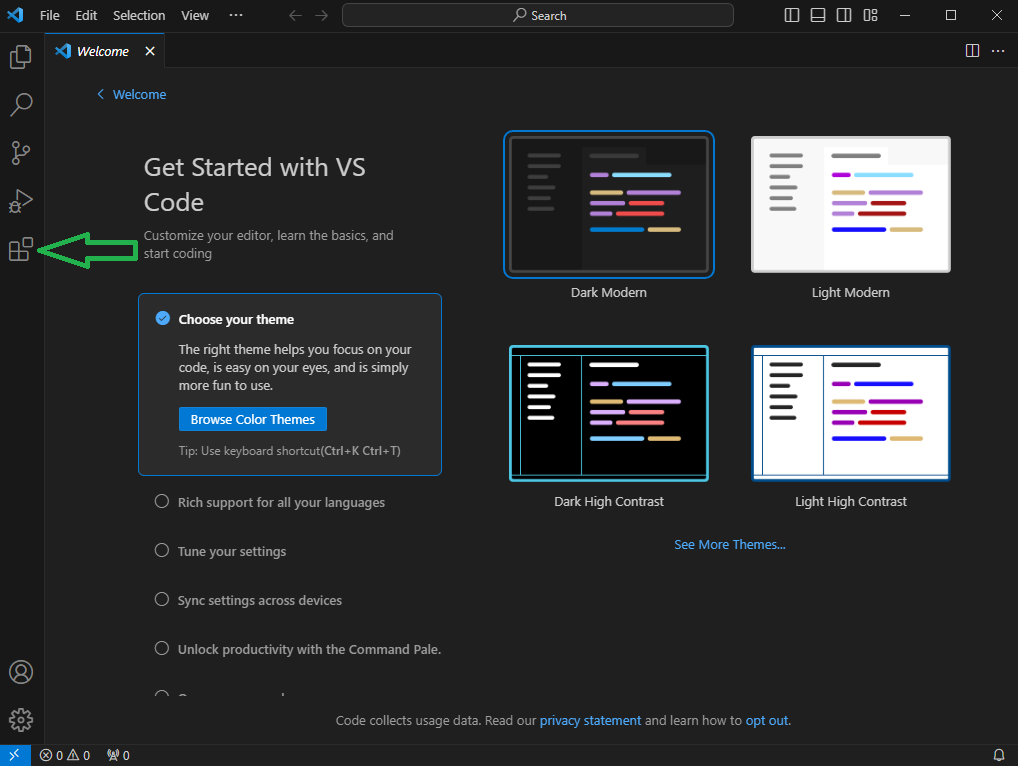
Step 9
With VS Code open, you will be presented with the main screen. Click Extensions (on the left).
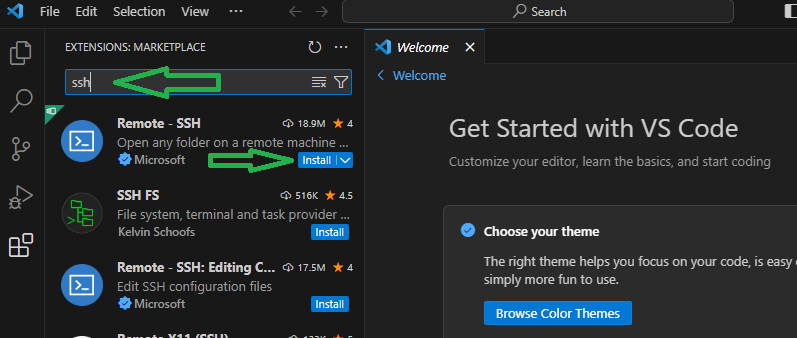
Step 10
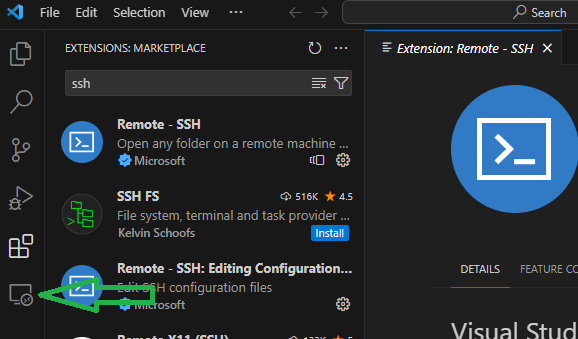
Type ssh in the search field, locate Remote – SSH and click Install.
Step 11
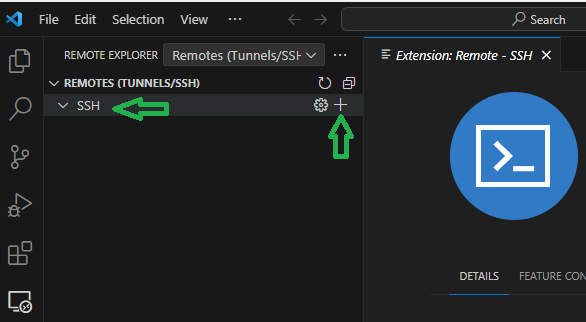
Once the extension is installed, locate the new Remote Explorer icon on the bottom left and click it to open the Remote Explorer extension.
Step 12
Hover over the SSH field located under REMOTES (TUNNELS/SSH) and click the Plus sign (+) to add a new host. We’ll be adding our Ubuntu Server.
Step 13
Enter the ssh connection as ssh username@serverIP -A and hit Enter.

Step 14
From the dropdown list, select the SSH configuration file to update.

Step 15
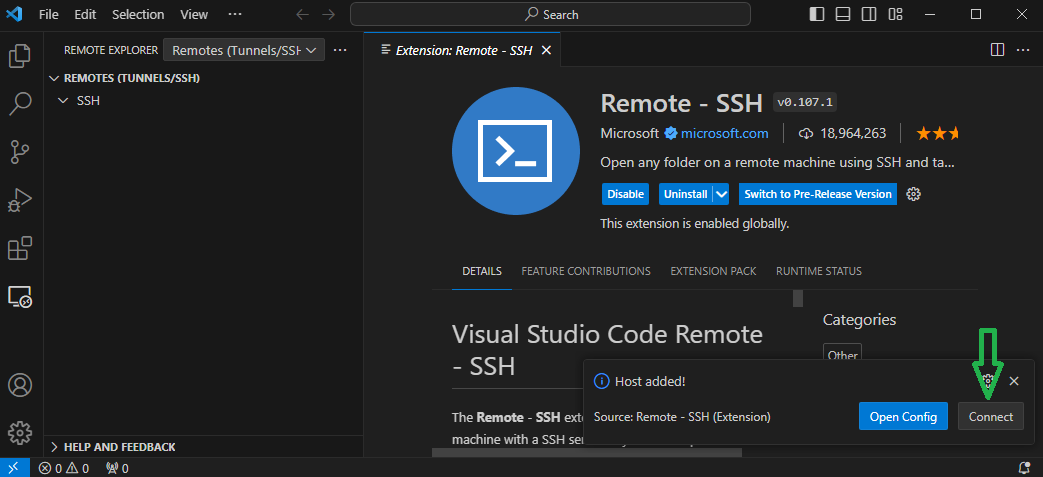
Click Connect on the bottom right to connect to the server.
Step 16
Select the appropriate platform for the target host. In our case it is Linux.

Step 17
Select Continue.

Step 18
Enter the password and hit Enter.

Step 19
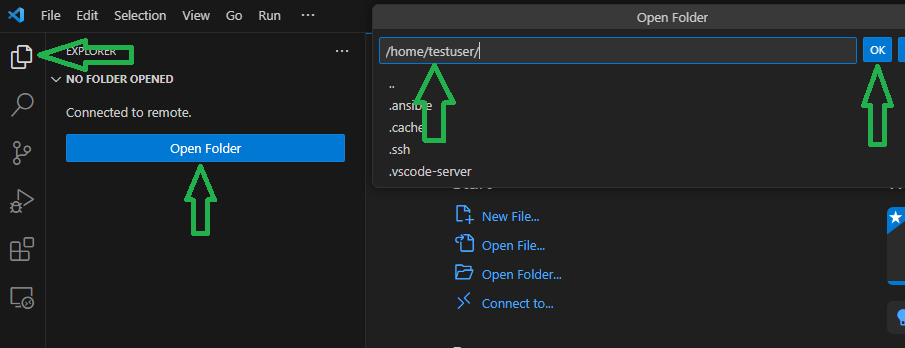
Once connected to the server, select the Explorer button on the top left, click Open Folder, select the Linux user’s home folder and then select OK.
Step 20
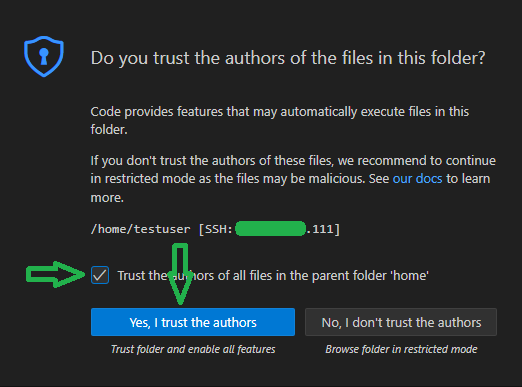
Review the trust warning and select Trust the authors of all files in the parent folder ‘home’ and click Yes, I trust the authors.
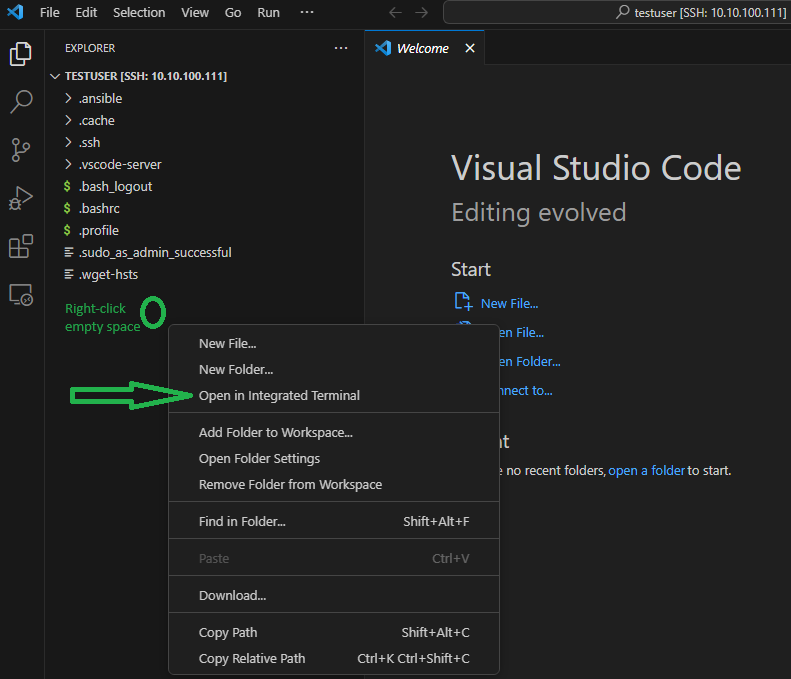
Now that VS Code is installed and configured, we can open an SSH session into our Linux server right from VS Code. Right-click the blank space below our list of files and folders and then select Open in Integrated Terminal.
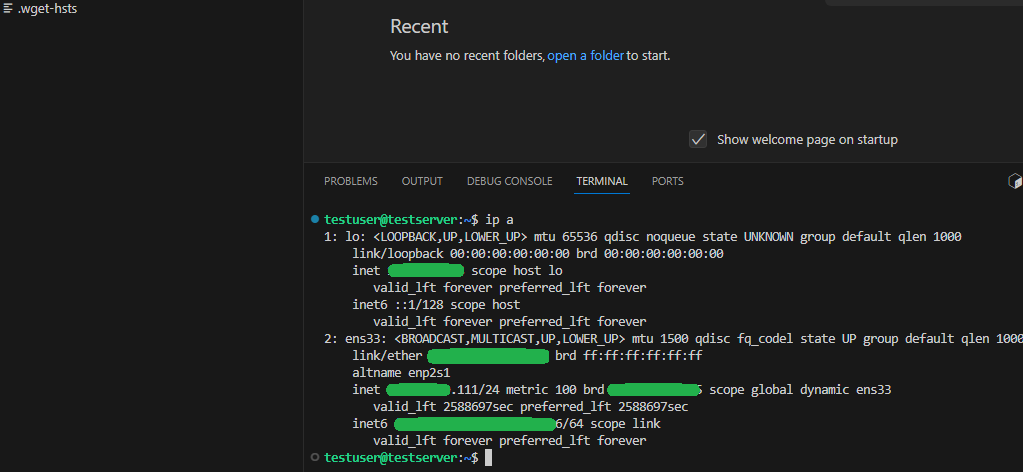
Double check that we are still on our Ubuntu server by executing the ip a command to check the IP address.
We now have our professional development environment ready with a fresh Ubuntu Server, Ansible working and configured, and VS Code as our IDE to help with coding efficiently. We are ready to start playing – let’s begin with the real fun and create our Hello World playbook!
Found this part of the tutorial helpful? Comment below… ↓