In this walkthrough, we demonstrate how to install Ubuntu server on VMware workstation. Exact steps may vary slightly in different versions but at the time of this writing we are using Ubuntu Server LTS 22.04.3 and VMware Workstation 17. Let’s begin…
Procedure on How to Install Ubuntu Server on VMware Workstation
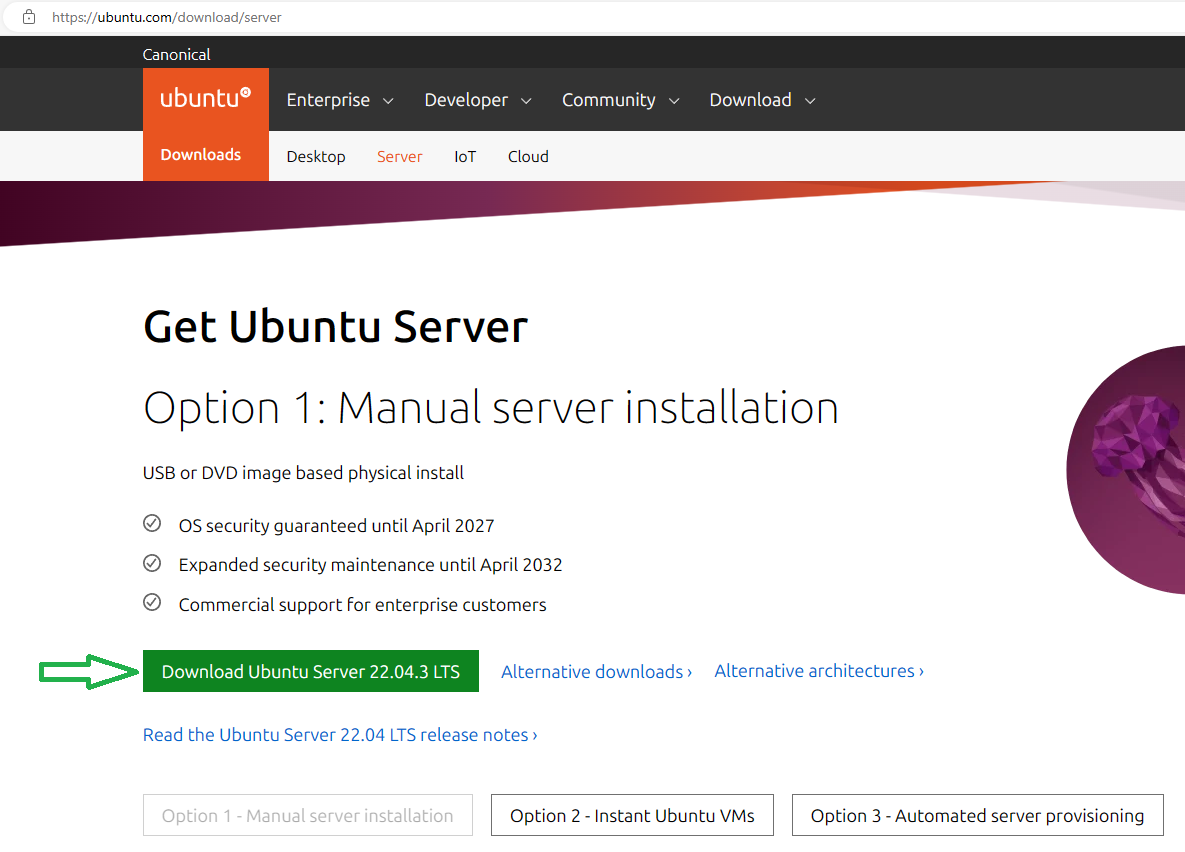
Step 1 – Download Ubuntu ISO
Head over to https://ubuntu.com/download/server and download a current version of Ubuntu Server.
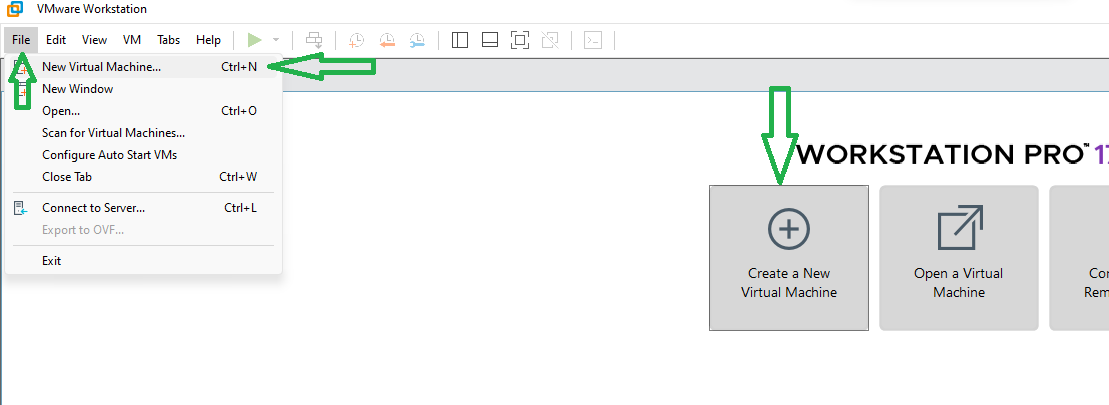
Step 2 – Create New Virtual Machine
Launch VMware Workstation, click File and then select New Virtual Machine… and then click Next.
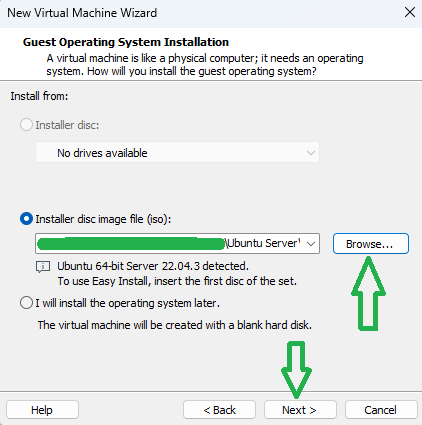
Step 3 – Select Ubuntu ISO
Click Browse…, select your downloaded ISO from step 1, and then click Next.
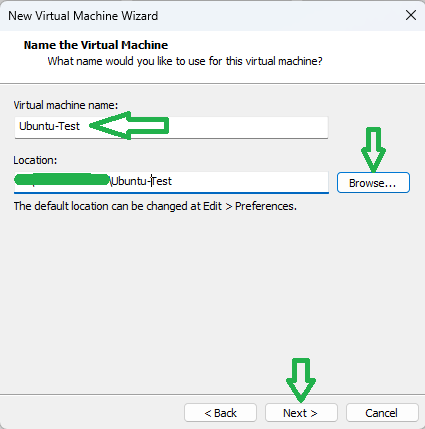
Step 4 – Choose VM Location
Name your VM, click Browse…, select the VM location, and then click Next.
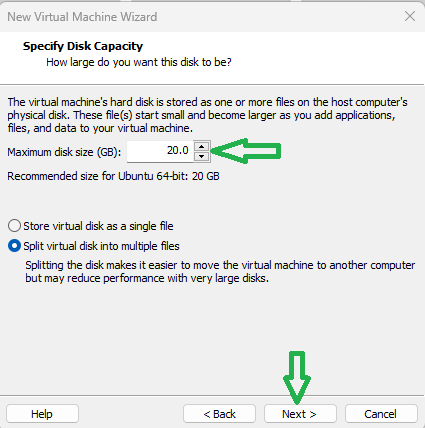
Step 5 – Specify Disk Capacity
Enter Maximum disk size and click Next.
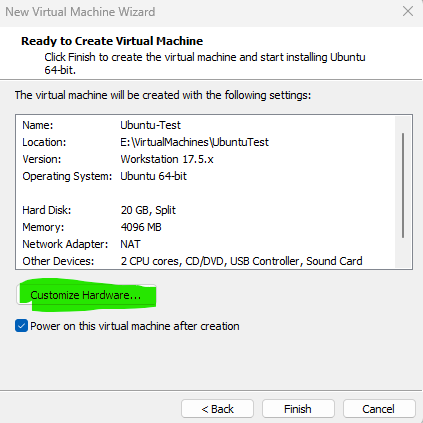
Step 6 – Customize Hardware
Click Customize Hardware…
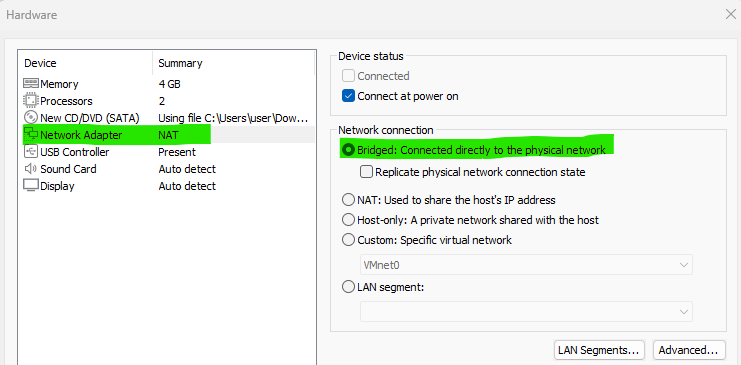
Step 7 – Set Bridged Network Adapter
Select Network Adapter, then choose Bridged: Connected directly to the physical network and click Close. We normally want to setup an Ubuntu server with its own IP address.
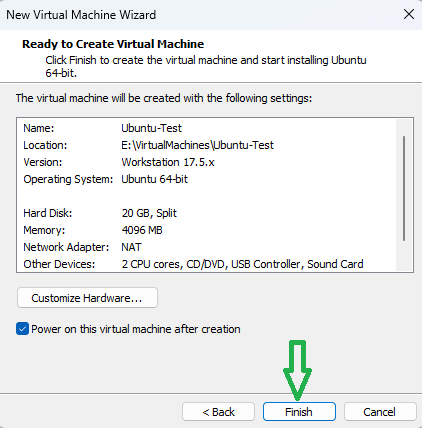
Step 8 – Confirm VM Creation
Review VM settings and then click Finish to create and power on the VM.
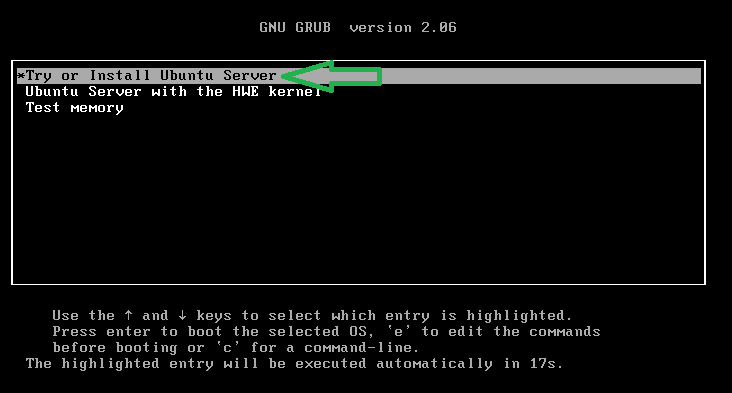
Step 9 – Install Ubuntu OS
Select Try or Install Ubuntu Server and then hit Enter.
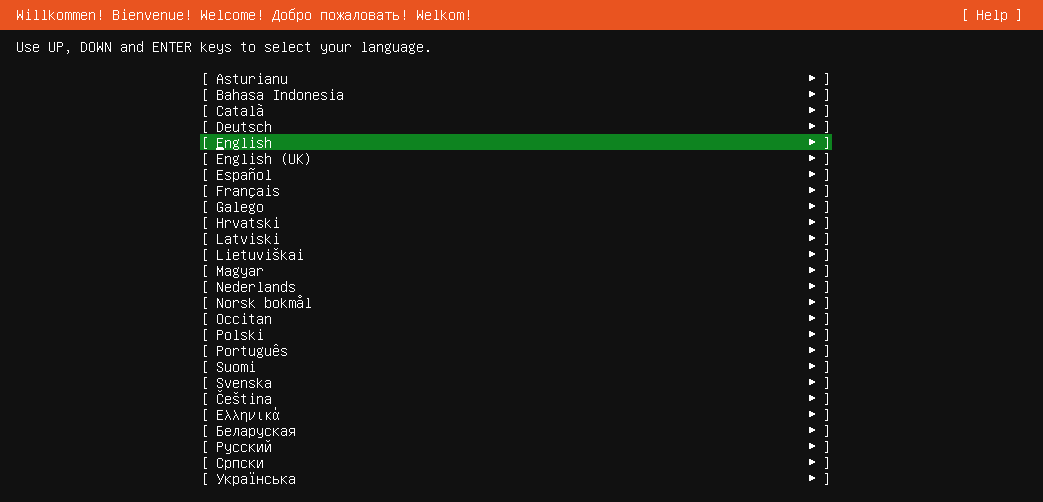
Step 10 – Select Ubuntu Language
Select a language and then hit Enter.
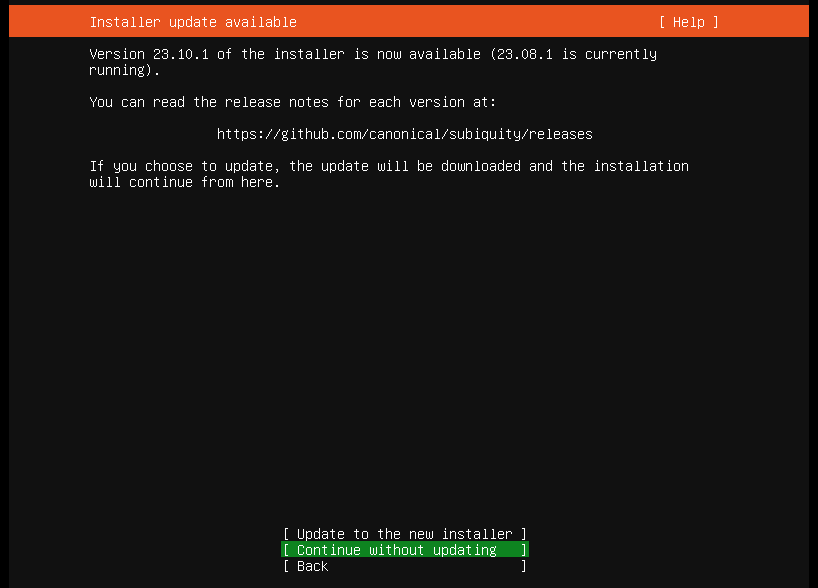
Step 11 – Ubuntu Installer Update
Select Continue without updating and hit Enter.
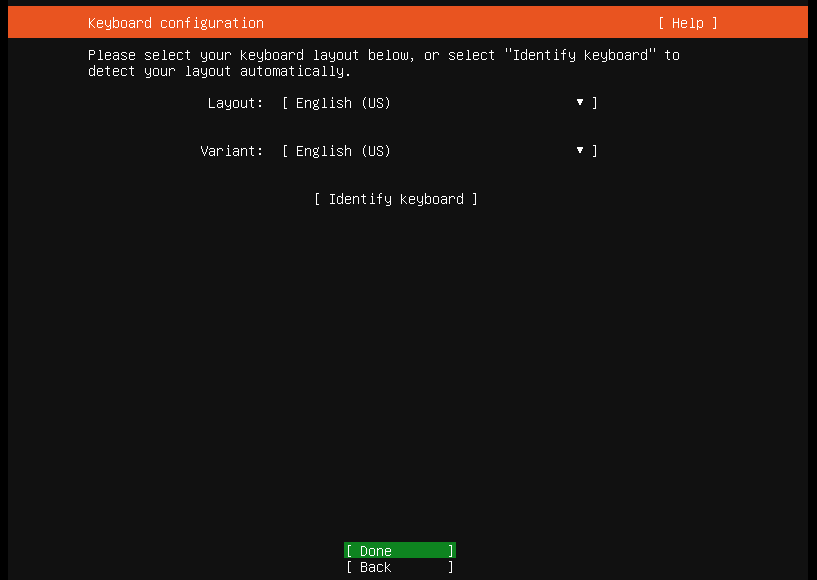
Step 12 – Ubuntu Keyboard Configuration
Choose a keyboard configuration, select Done and then hit Enter.
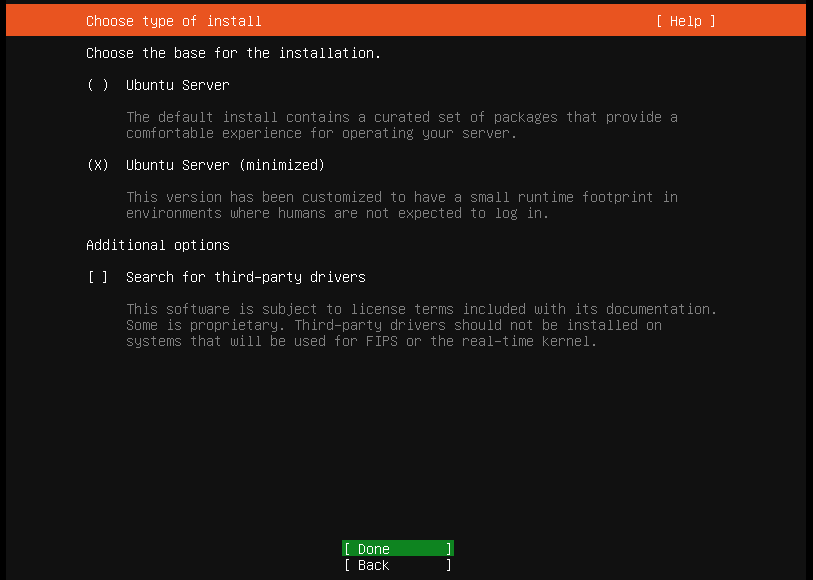
Step 13 – Ubuntu Installation Base
Choose type of install, select Done and then hit Enter. Use the up/down arrow keys or tab to change fields, spacebar to select an option and Enter to proceed or go back.
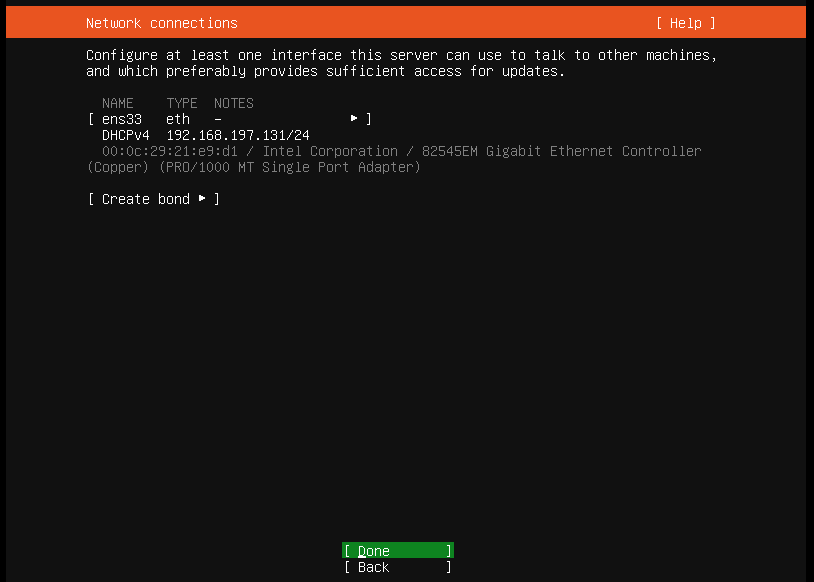
Step 14 – Ubuntu Network Connections
Configure Network connections, select Done and then hit Enter.
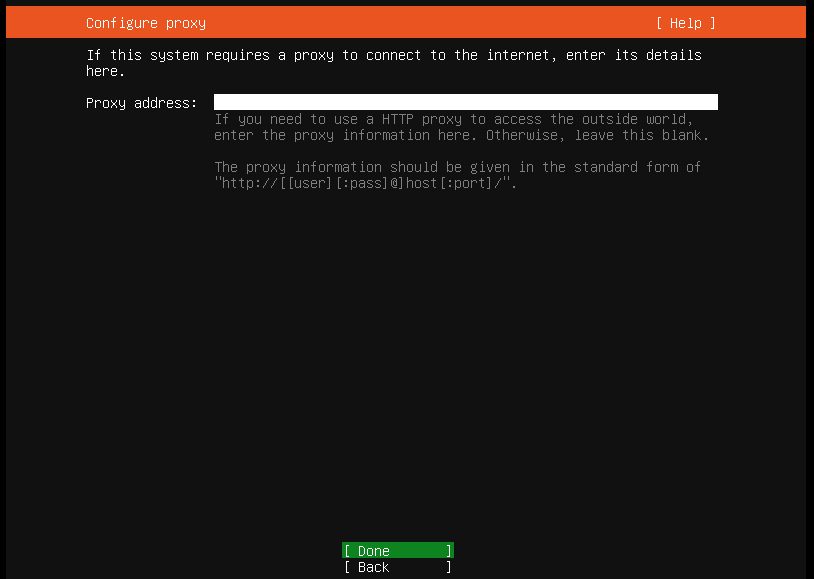
Step 15 – Ubuntu Proxy Address
Configure a proxy address if applicable, select Done and then hit Enter.
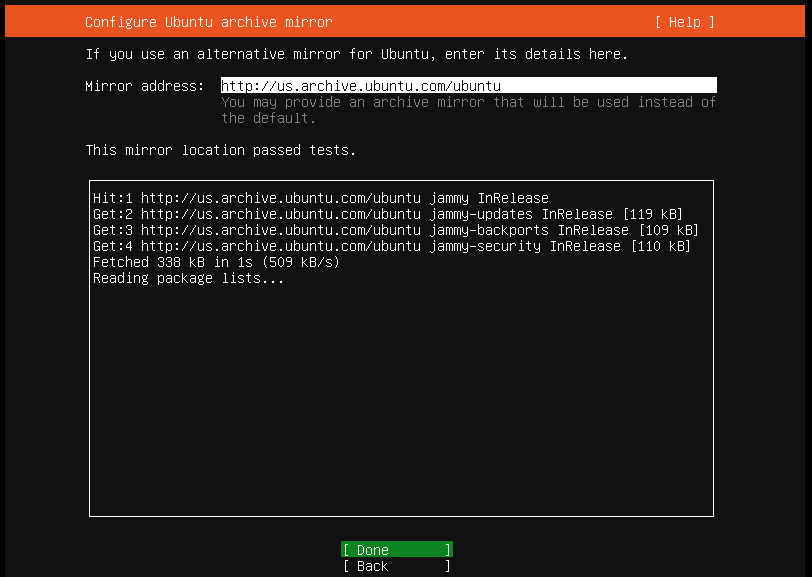
Step 16 – Ubuntu Archive Mirror
Configure archive mirror, select Done and then hit Enter.
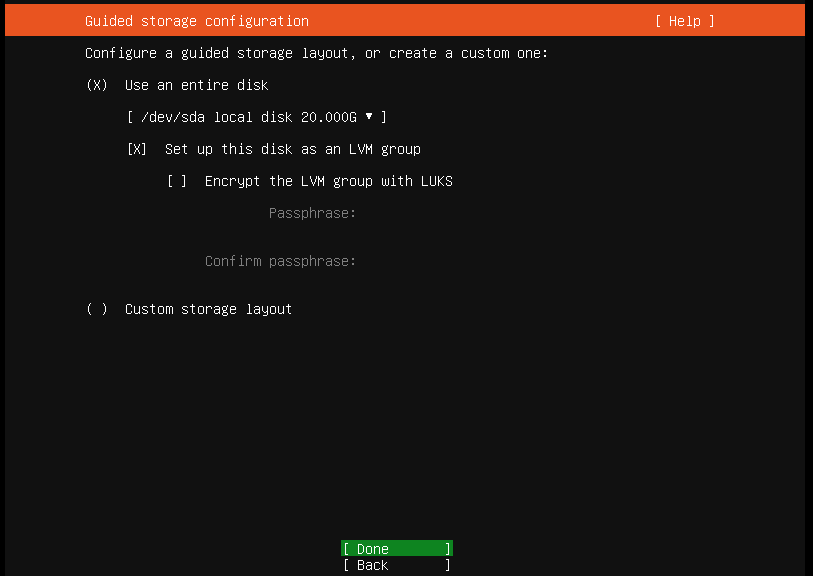
Step 17 – Ubuntu Storage Options
Configure storage options, select Done and then hit Enter.
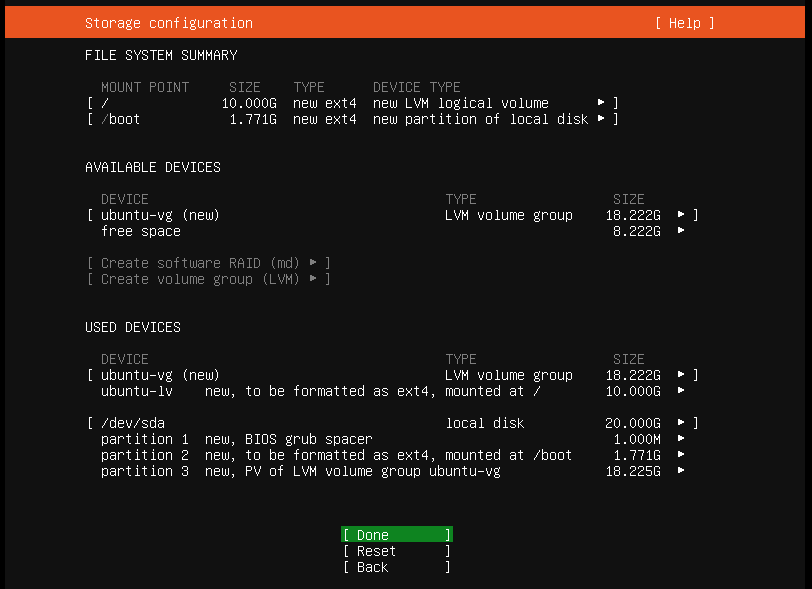
Step 18 – Ubuntu Storage Configuration
Review storage configuration, select Done and then hit Enter.
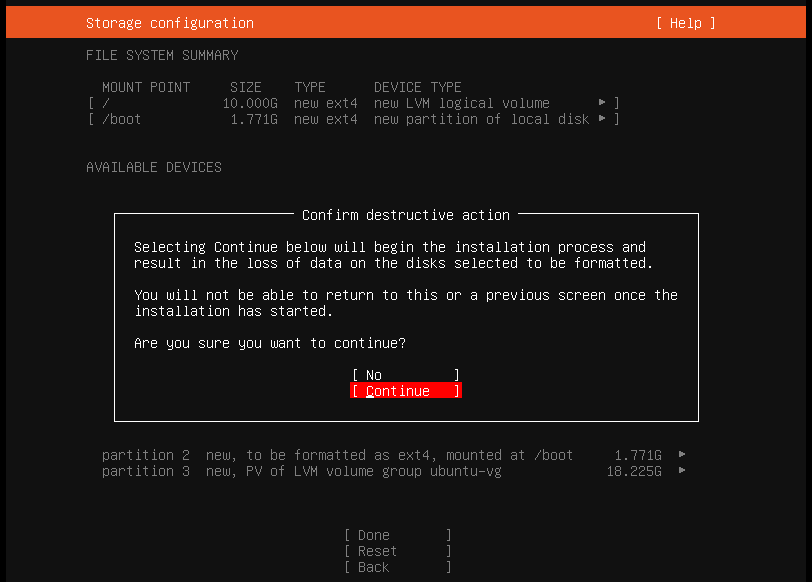
Step 19 – Ubuntu Storage Configuration Confirmation
Select Continue and then hit Enter to accept the storage configuration actions.
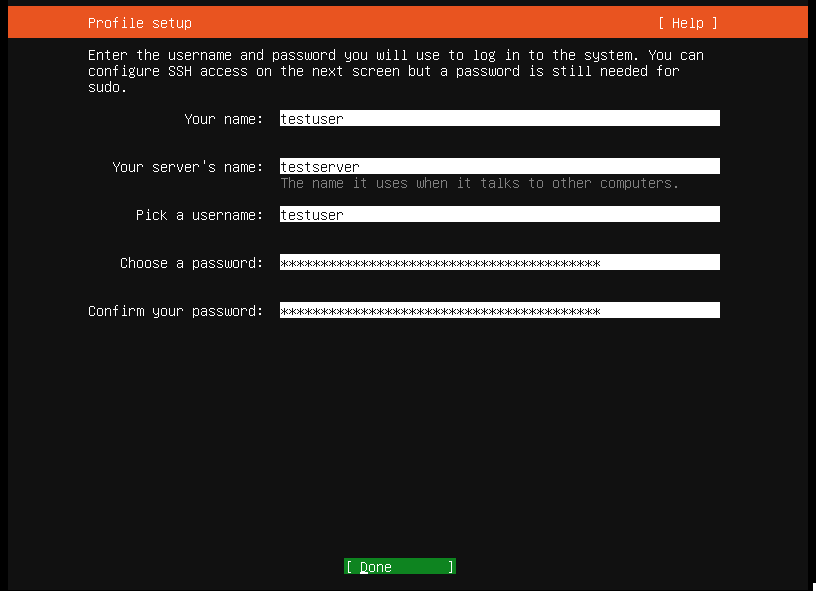
Step 20 – Ubuntu Profile Setup
Enter profile setup information, select Done and then hit Enter.
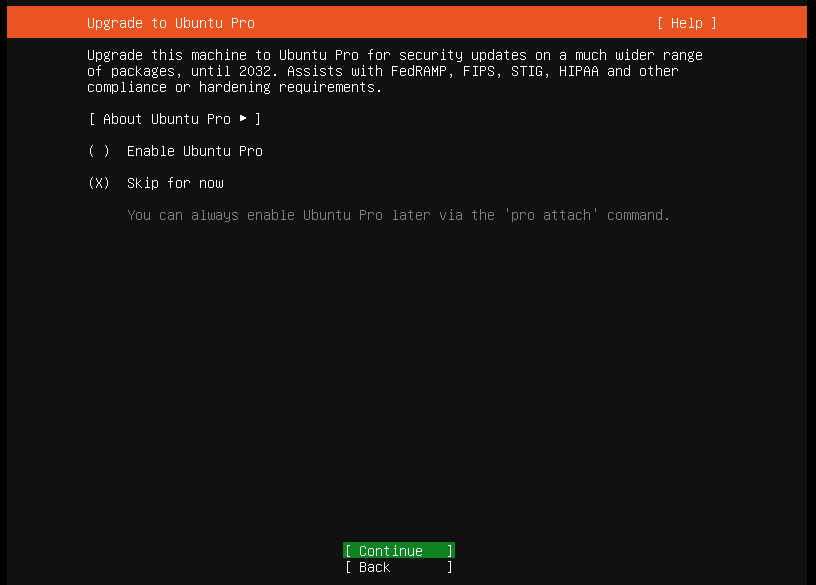
Step 21 – Ubuntu Pro Upgrade
Skip Ubuntu pro upgrade, select Continue and then hit Enter.
Step 22 – Ubuntu OpenSSH Installation
Choose Install OpenSSH server, select Done and then hit Enter.

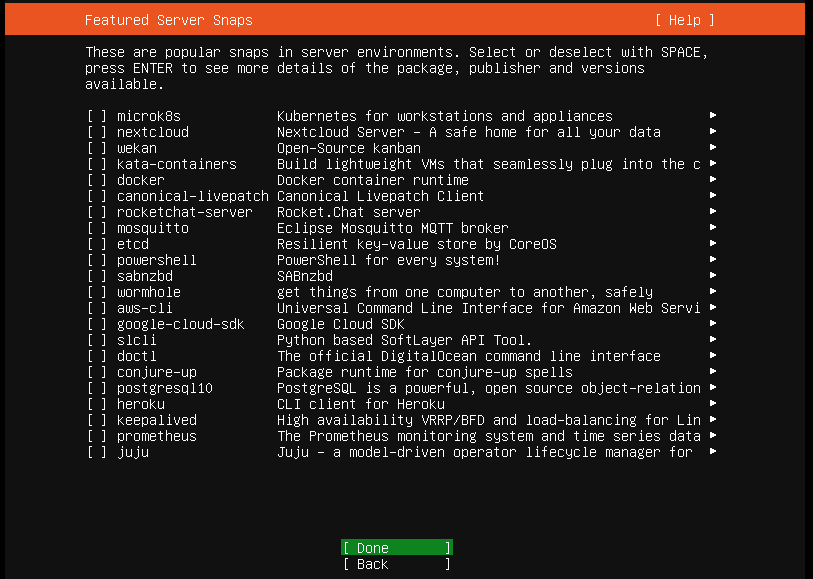
Step 23 – Ubuntu Server Snaps
Choose desired Snaps, Select Done and then hit Enter.
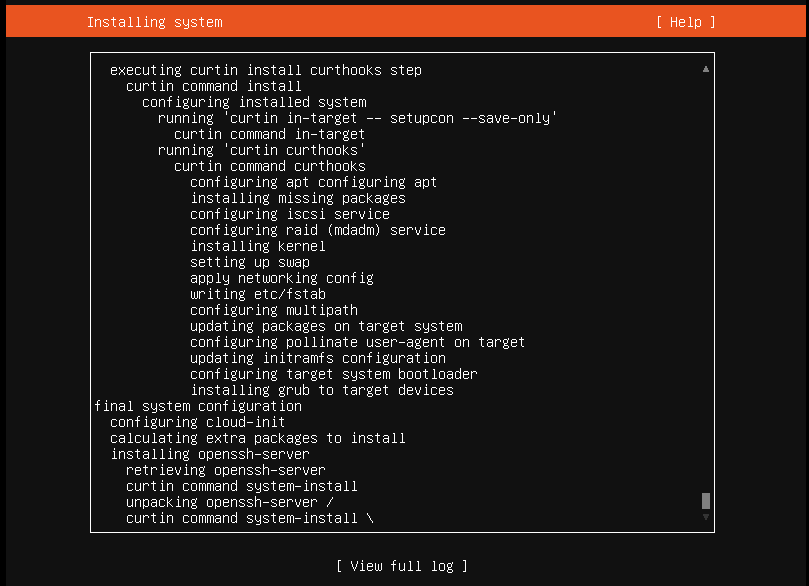
Step 24 – Ubuntu Installing
We are greeted with the Installing system screen. The system will eventually update.
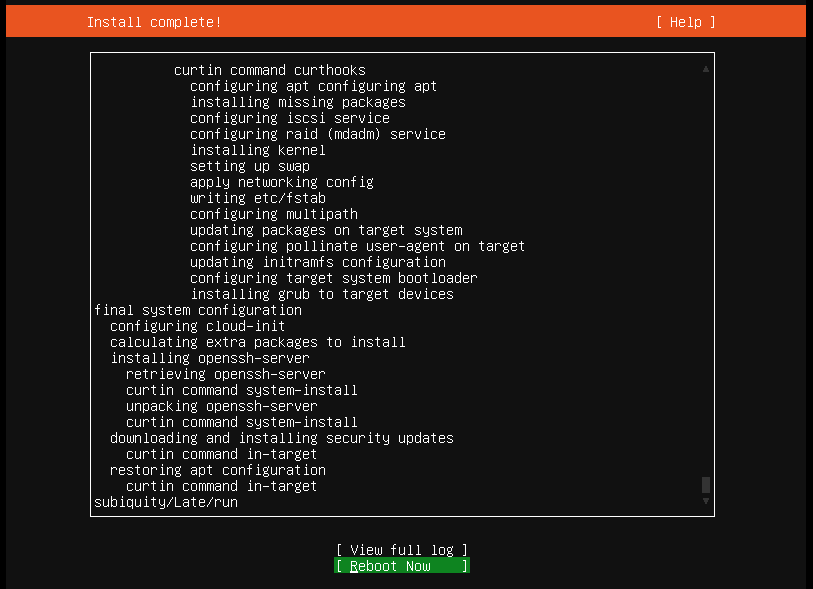
Step 25 – Ubuntu Installation Complete Reboot
When the install completes, select Reboot Now and then hit Enter.
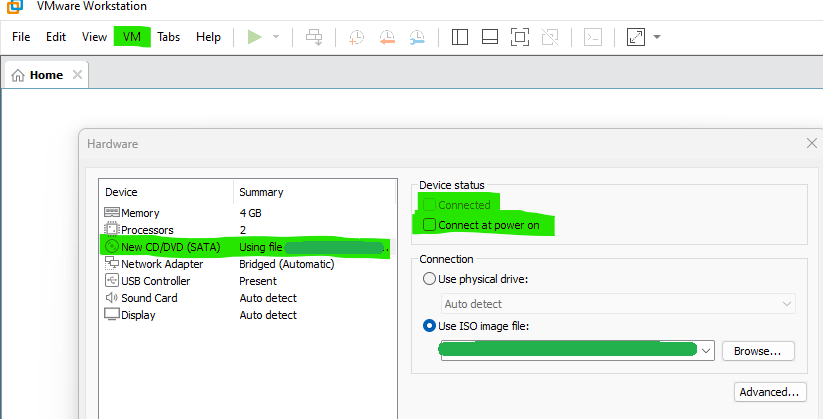
Step 26 – Ubuntu Failed Unmounting /CDROM
We may be greeted with a Failed unmounting /cdrom message.

We can remove the installation media by selecting VM | Settings…, CD/DVD (SATA), then unselecting Connect at power on and selecting OK. We can then restart the VM by selecting VM | Power | Restart Guest.
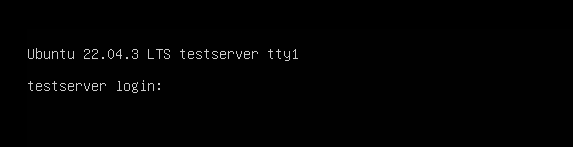
If everything went well, we should be greeted with the Ubuntu login screen.
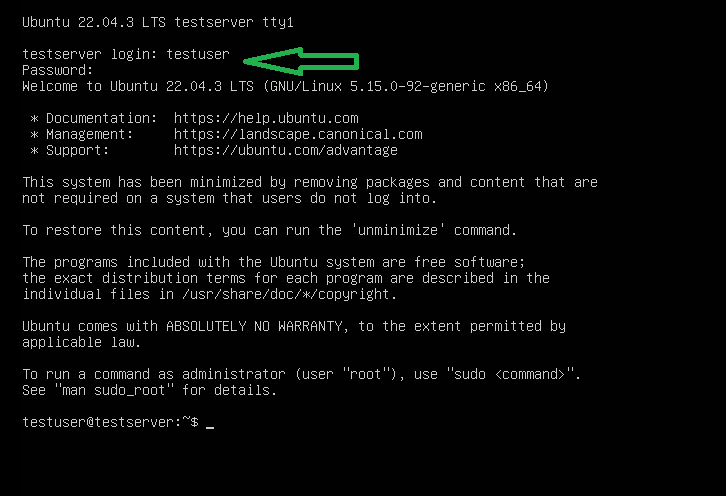
Let’s make sure we can log into our new server.
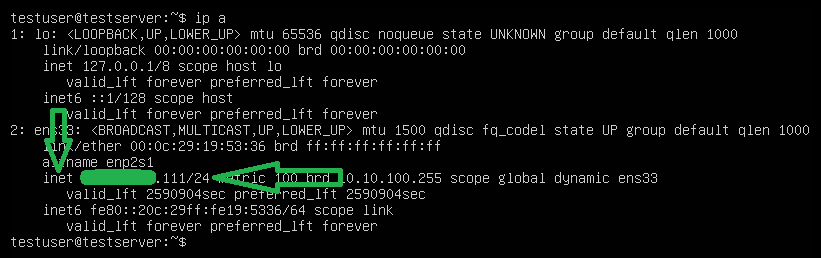
And while we’re at it, let’s grab its ip address by issuing the command ip a – we’ll probably need it.
Found this helpful? Comment below… ↓
One thought on “Install Ubuntu Server on VMware Workstation”
Awesome. I found it very helpful! Thank you very much indeed.