Cloning a virtual machine (VM) from template in VMware vCenter manually can be a tedious task, especially when we have to customize the target VM. Let’s be honest, we would rather sip on our coffee (or tea, or orange juice, if you’re into that) than clickety-click a bunch of sluggish vSphere web app menu options (no pun intended!). Well, Terraform is the answer. Yes, Terraform is the coffee sip enabling infrastructure-as-code technology that lets you define both cloud and on-prem resources in human-readable configuration files that you can version, reuse, and share. That was a mouthful, but click here to learn more about Terraform. Let’s dive into how to clone VM from template using Terraform.
To accomplish this task, we need to:
(1) Install Terraform
(2) Create 3 Terraform Files
(3) Run Terraform Init, Plan, Apply, Destroy
Easy peasy!
Install Terraform
Terraform can be installed on Windows or Linux. For more details on the various Terraform installation types visit Install Terraform on the Hashicorp site.
In live production environments we usually containerize Terraform or install it directly on Linux machines. However, for the purpose of this tutorial, we will demonstrate installing Terraform on a Windows 10 machine. Why, you ask? Because we’ve never done it before, we are adventurous, and we like to learn and and try new things. And we do love Windows, of course. And we also love Linux. But let’s not digress…
Step 1 – Install Chocolatey
To install Chocolatey, open Windows PowerShell and run the following command:
Set-ExecutionPolicy Bypass -Scope Process -Force; [System.Net.ServicePointManager]::SecurityProtocol = [System.Net.ServicePointManager]::SecurityProtocol -bor 3072; iex ((New-Object System.Net.WebClient).DownloadString('https://community.chocolatey.org/install.ps1'))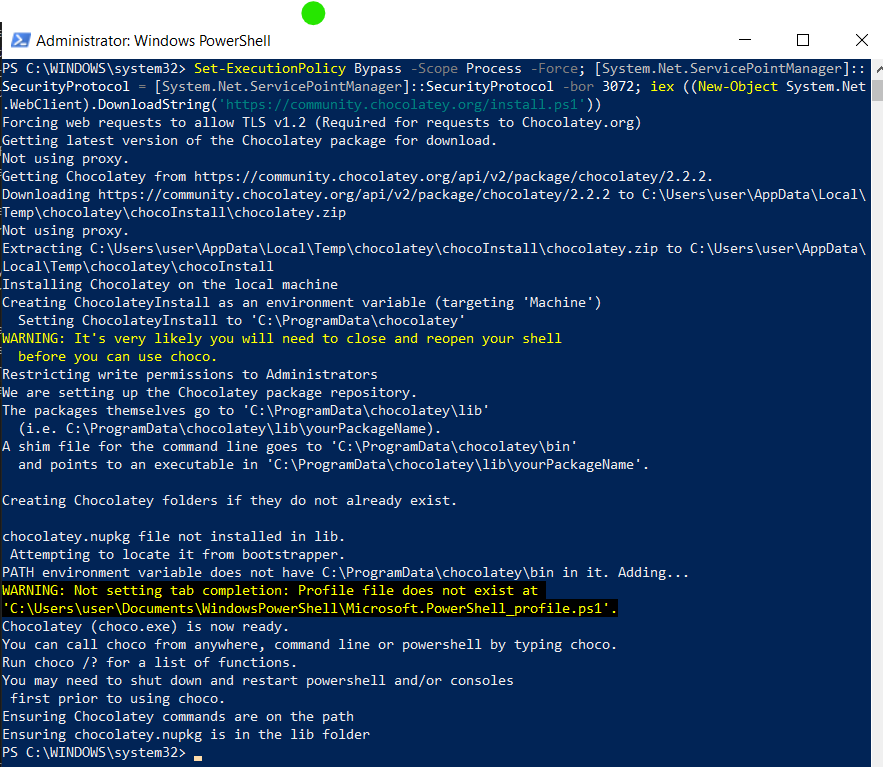
For more information on installing Chocolatey see Installing Chocolatey.
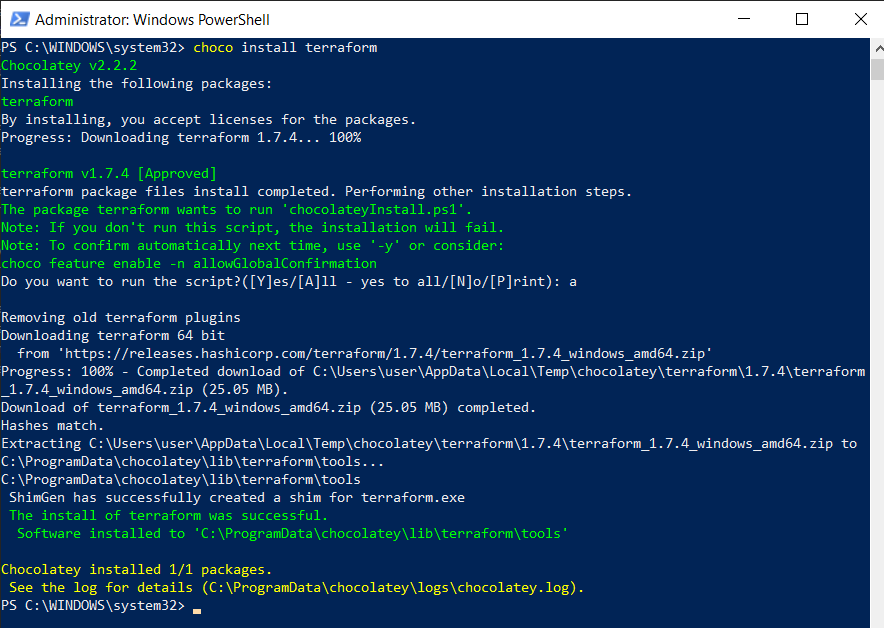
Step 2 – Install Terraform
To install Terraform, in Windows PowerShell run the following command:
choco install terraformType A and hit Enter to allow the script to run.
Step 3 – Verify Terraform Installation
To verify the Terraform installed correctly, issue the following command:
terraform -help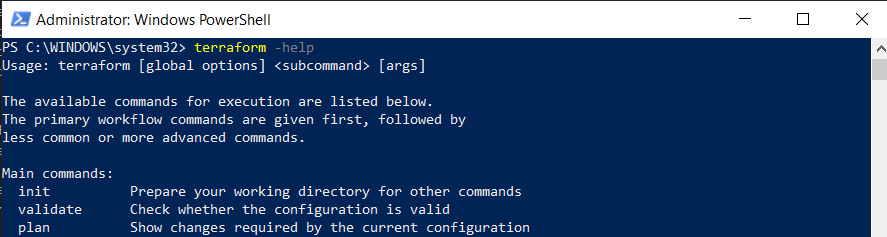
Create 3 Terraform Files
main.tf → defines resources, data sources, providers, and other elements that make up the infrastructure
# main.tf
provider "vsphere" {
  user           = "${var.vsphere_user}"
  password       = "${var.vsphere_pwd}"
  vsphere_server = "${var.vsphere_server}"
  allow_unverified_ssl = true
}

data "vsphere_datacenter" "datacenter" {
  name = "${var.vsphere_datacenter}"
}

data "vsphere_compute_cluster" "cluster" {
  name          = "${var.vsphere_cluster}"
  datacenter_id = data.vsphere_datacenter.datacenter.id
}

data "vsphere_datastore" "datastore" {
  name          = "${var.vsphere_datastore}"
  datacenter_id = "${data.vsphere_datacenter.datacenter.id}"
}

data "vsphere_virtual_machine" "template" {
  name          = "${var.vm_template}"
  datacenter_id = data.vsphere_datacenter.datacenter.id
}

data "vsphere_network" "network" {
  name          = "${var.vm_network}"
  datacenter_id = data.vsphere_datacenter.datacenter.id
}

resource "vsphere_virtual_machine" "vm" {
  name             = "${var.vm_name}"
  resource_pool_id = "${data.vsphere_compute_cluster.cluster.resource_pool_id}"
  datastore_id     = "${data.vsphere_datastore.datastore.id}"
  folder           = "${var.vm_folder}"
  num_cpus         = "${var.vm_cpus}"
  memory           = "${var.vm_memory}"
  guest_id         = "${data.vsphere_virtual_machine.template.guest_id}"
  scsi_type        = "${data.vsphere_virtual_machine.template.scsi_type}"
  network_interface {
    network_id   = "${data.vsphere_network.network.id}"
    adapter_type = "${data.vsphere_virtual_machine.template.network_interface_types[0]}"
  }
  disk {
    label            = "disk0"
    size             = "${data.vsphere_virtual_machine.template.disks.0.size}"
    thin_provisioned = "${data.vsphere_virtual_machine.template.disks.0.thin_provisioned}"
  }
  clone {
    template_uuid = "${data.vsphere_virtual_machine.template.id}"
    customize {
      windows_options {
        computer_name   = "${var.vm_name}"
        workgroup       = "${var.vm_domain}"
        admin_password  = "${var.vm_win_default_pwd}"
      }
      network_interface {
        ipv4_address = "${var.vm_ip}"
        ipv4_netmask = "${var.vm_netmask}"
      }
      ipv4_gateway = "${var.vm_gateway}"
    }
  }
}
variables.tf → used to declare input variables that are used throughout the infrastructure configuration
# variables.tf
# vsphere configuration
variable "vsphere_user" {}
variable "vsphere_pwd" {}
variable "vsphere_server" {}
variable "vsphere_datacenter" {}
variable "vsphere_datastore" {}
variable "vsphere_cluster" {}

# vm configuration
variable "vm_name" {}
variable "vm_template" {}
variable "vm_folder" {}
variable "vm_network" {}
variable "vm_cpus" {}
variable "vm_memory" {}
variable "vm_ip" {}
variable "vm_netmask" {}
variable "vm_gateway" {}
variable "vm_domain" {}
variable "vm_win_default_pwd" {}
terraform.tfvars → used to set input variable values for the Terraform configuration
# vsphere configuration
vsphere_user        = "[email protected]"
vsphere_pwd         = "passw0rd"
vsphere_server      = "IP_or_FQDN"
vsphere_datacenter  = "datacenter1"
vsphere_cluster     = "cluster1"
vsphere_datastore   = "datastore1"

# vm configuration
vm_template         = "templatename"
vm_name             = "vmname"
vm_folder           = "path/to/folder"
vm_cpus             = "2"
vm_memory           = "4096"
vm_network          = "VM Network"
vm_ip               = "xx.xx.xx.xx"
vm_gateway          = "xx.xx.xx.1"
vm_netmask          = "24"
vm_domain           = "domain.com"
vm_win_default_pwd  = "passw0rd"
Run Terraform Init, Plan, Apply, Destroy
terraform init
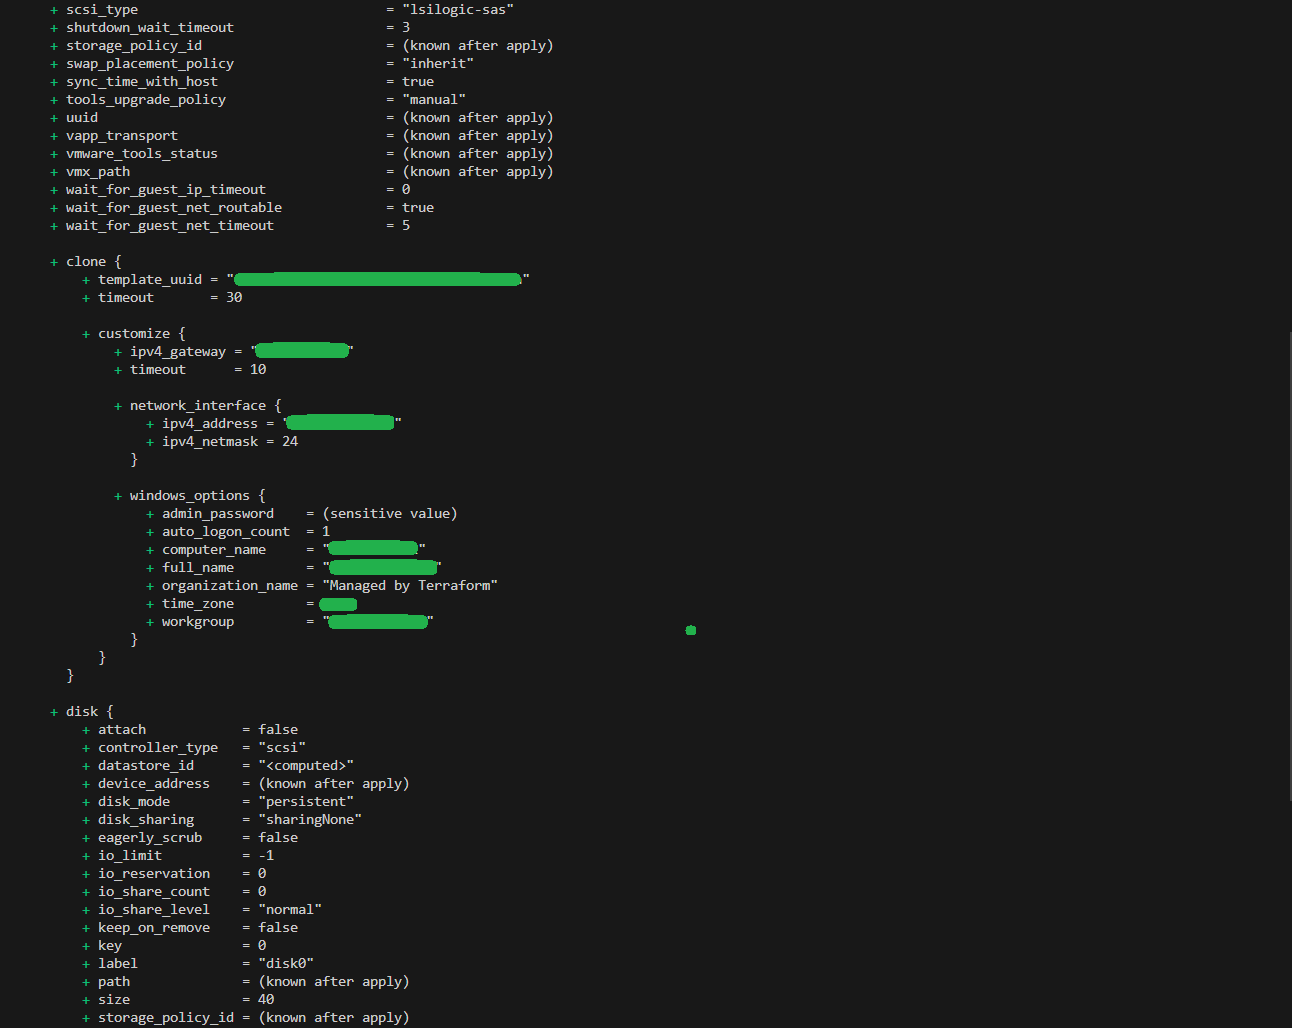
terraform plan
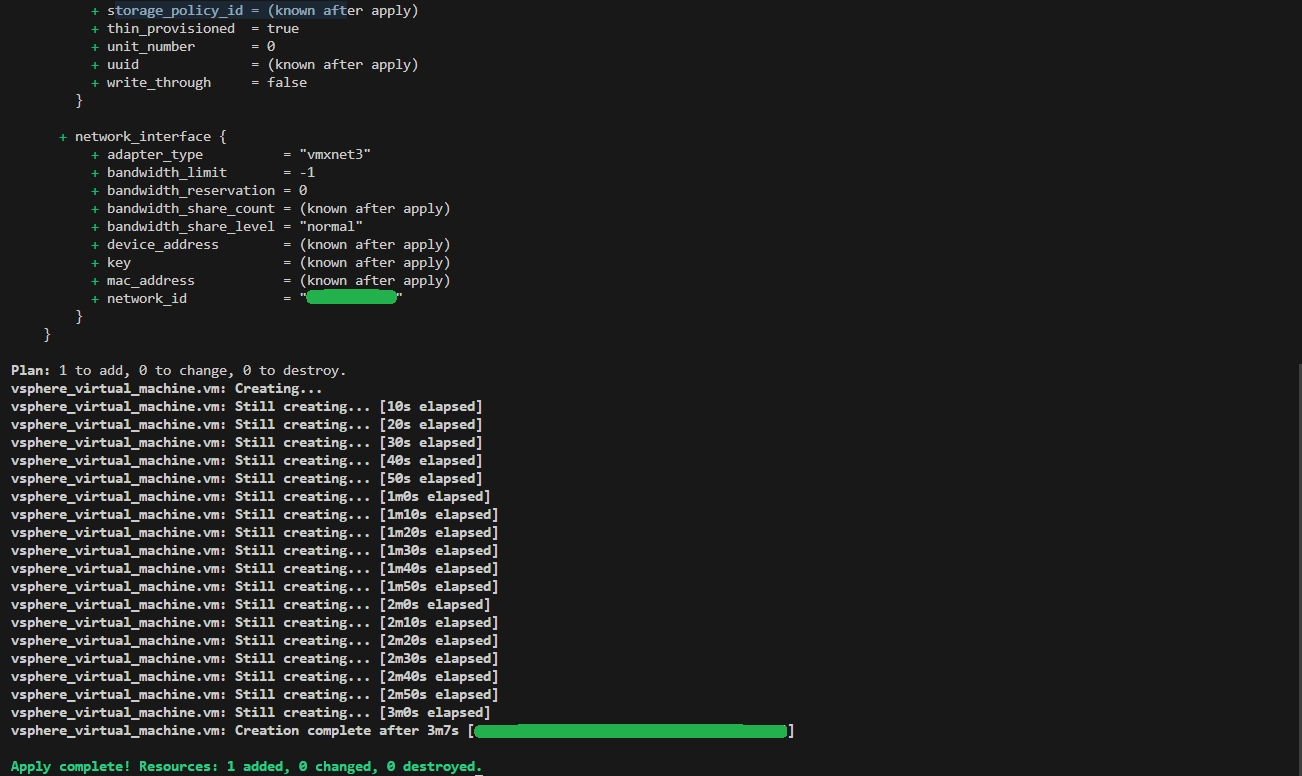
terraform apply --auto-approve
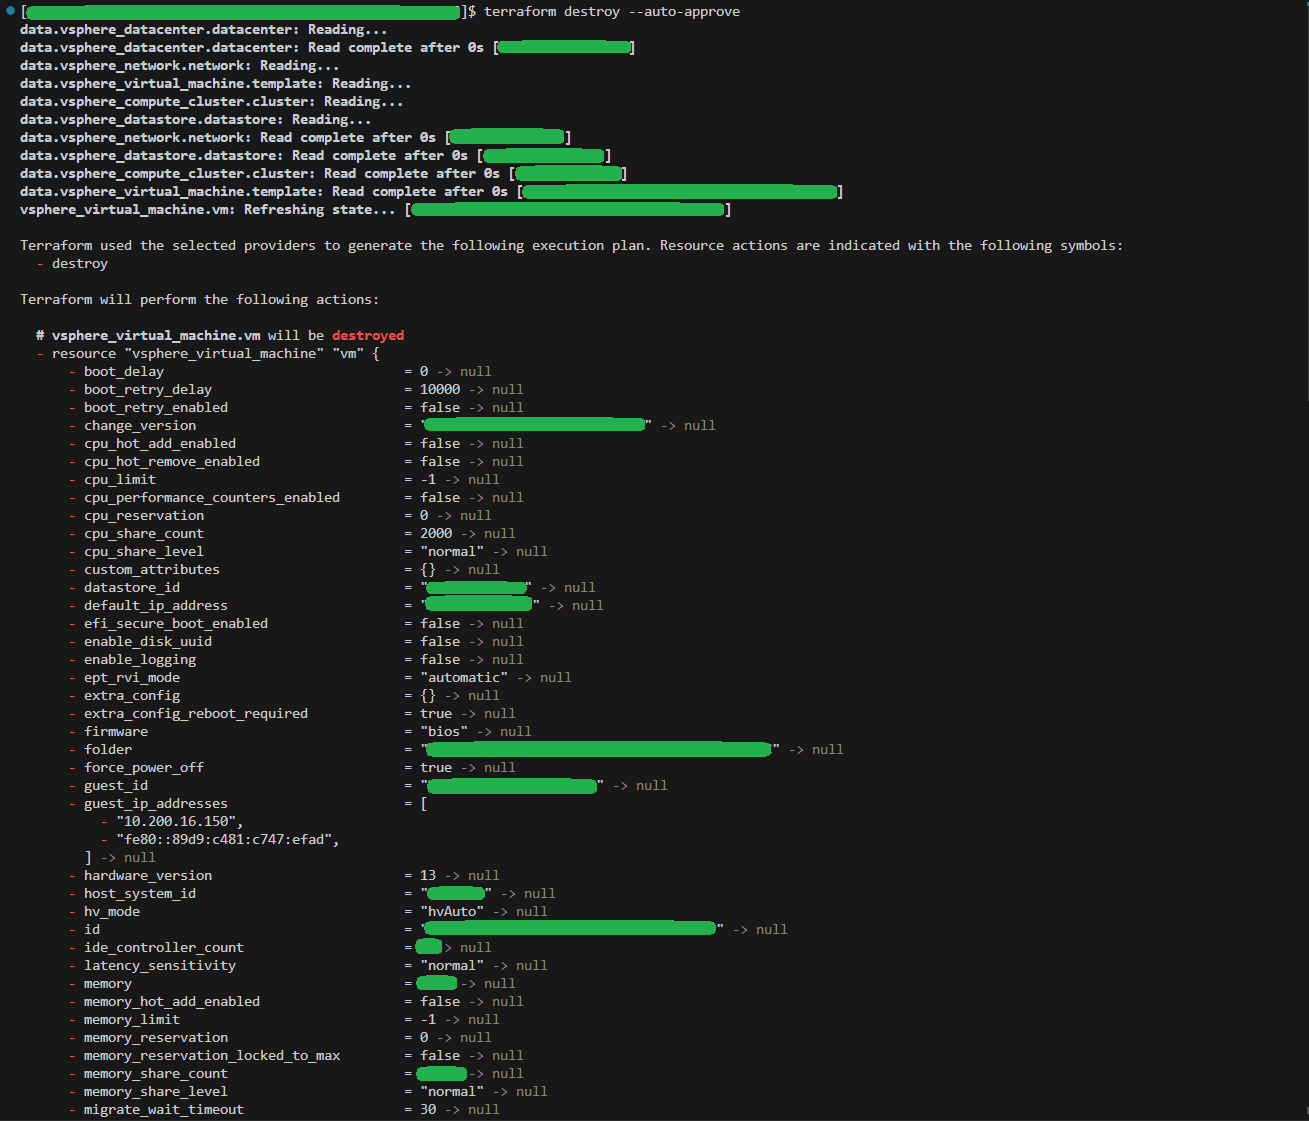
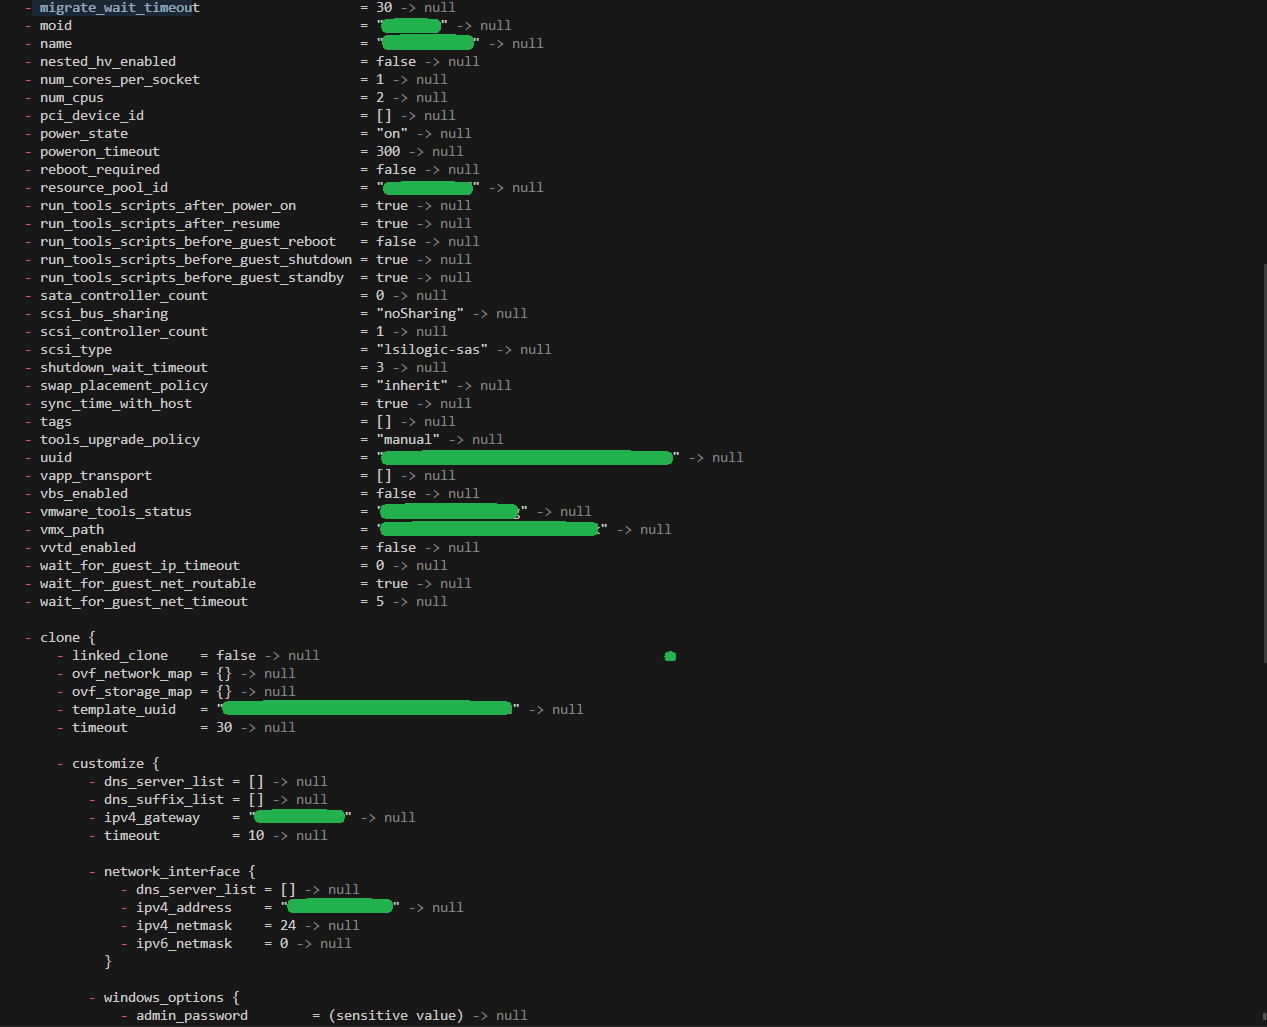
terraform destroy --auto-approveIn order of operation, we normally:
(1) First, run terraform init to initialize our Terraform working directory and set up the necessary dependencies. This command is typically executed once to initialize a project. However, we can execute it subsequent times when making provider changes, module changes, state backend changes or in a new environment.
terraform init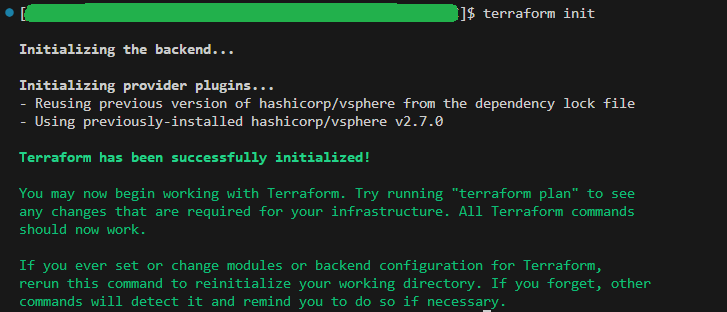
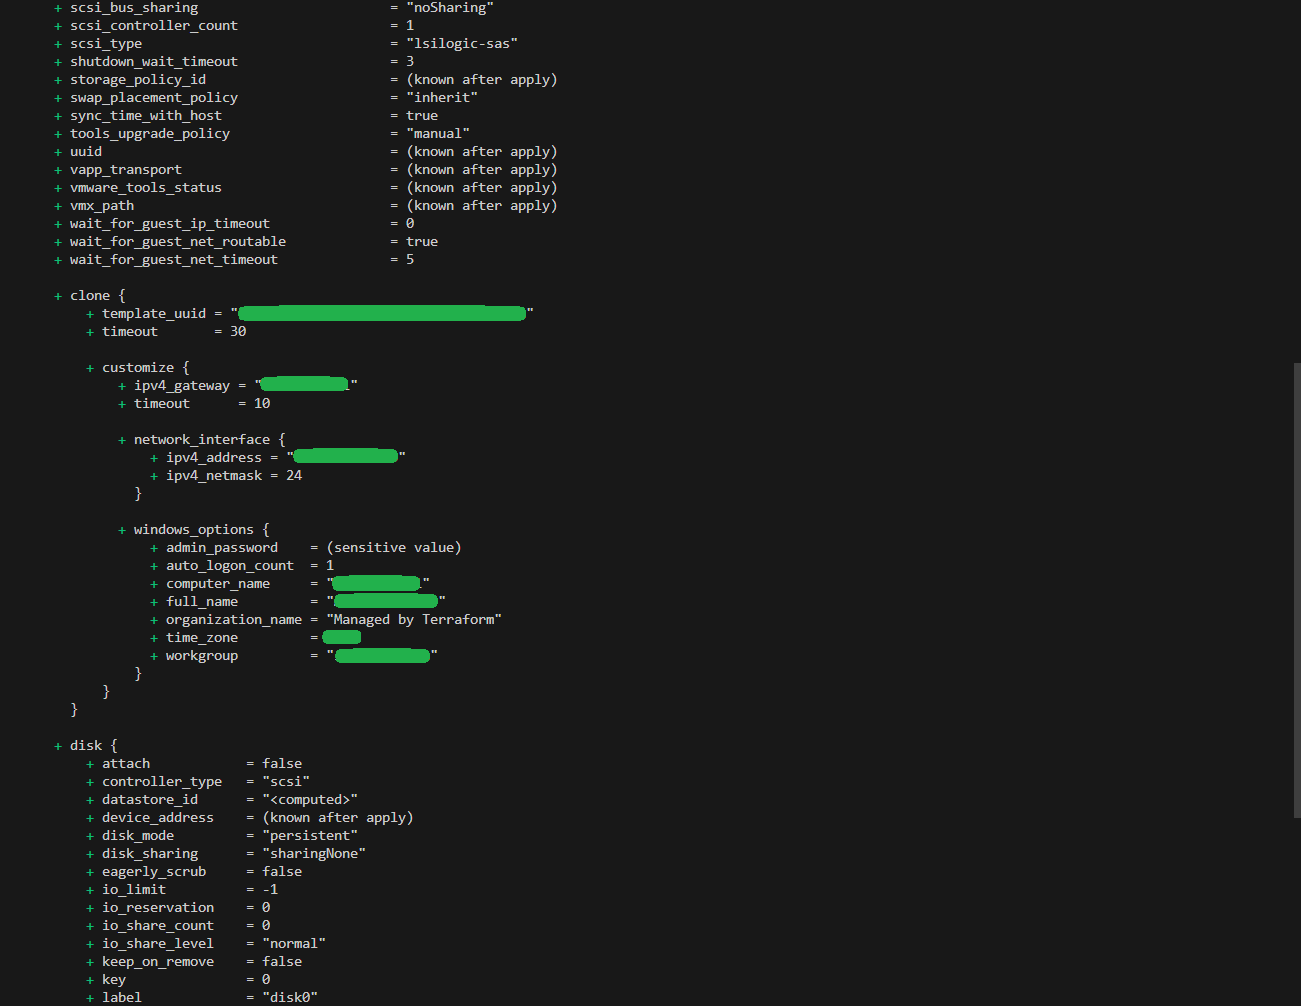
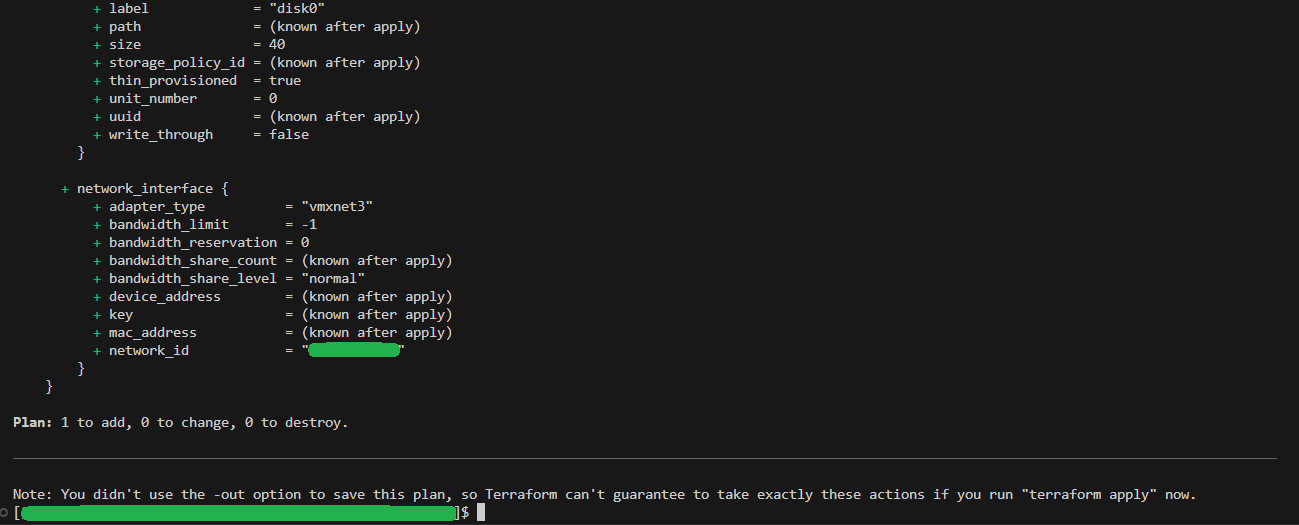
(2) Second, run terraform plan to generate the execution plan. terraform plan compares the current state with the desired state of the infrastructure described in our configuration files and displays the changes proposed.
terraform plan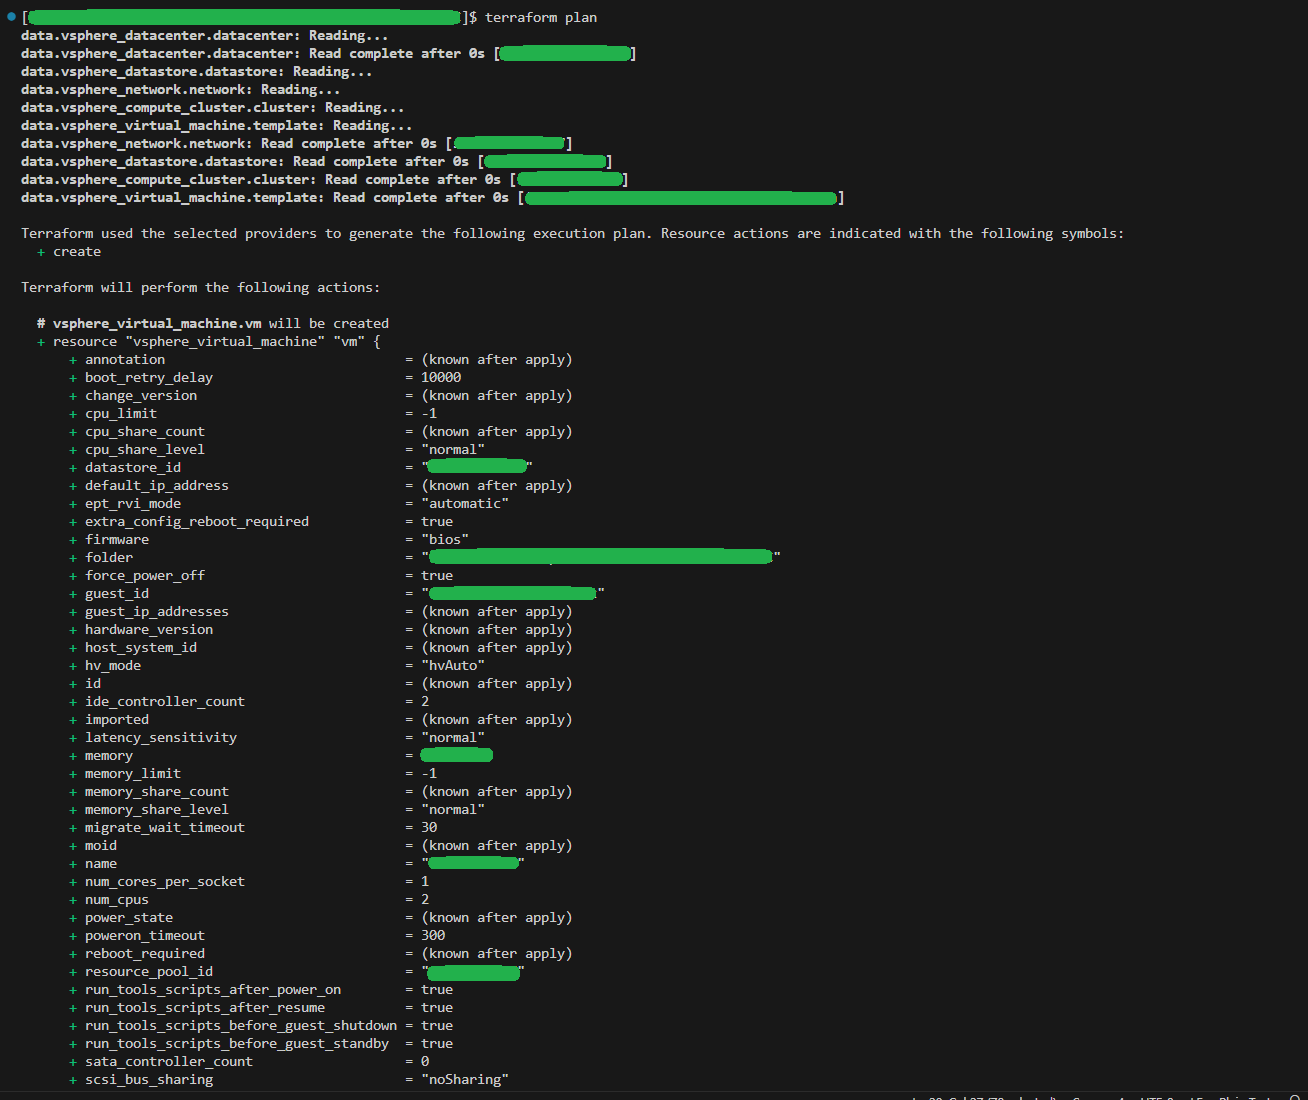
(3) Third, run terraform apply when ready to apply the infrastructure changes described in the plan. It is important to always review the plan prior to running terraform apply. Also, to avoid having to confirm the changes, we can optionally run terraform apply with the –auto-approve switch.
terraform apply --auto-approve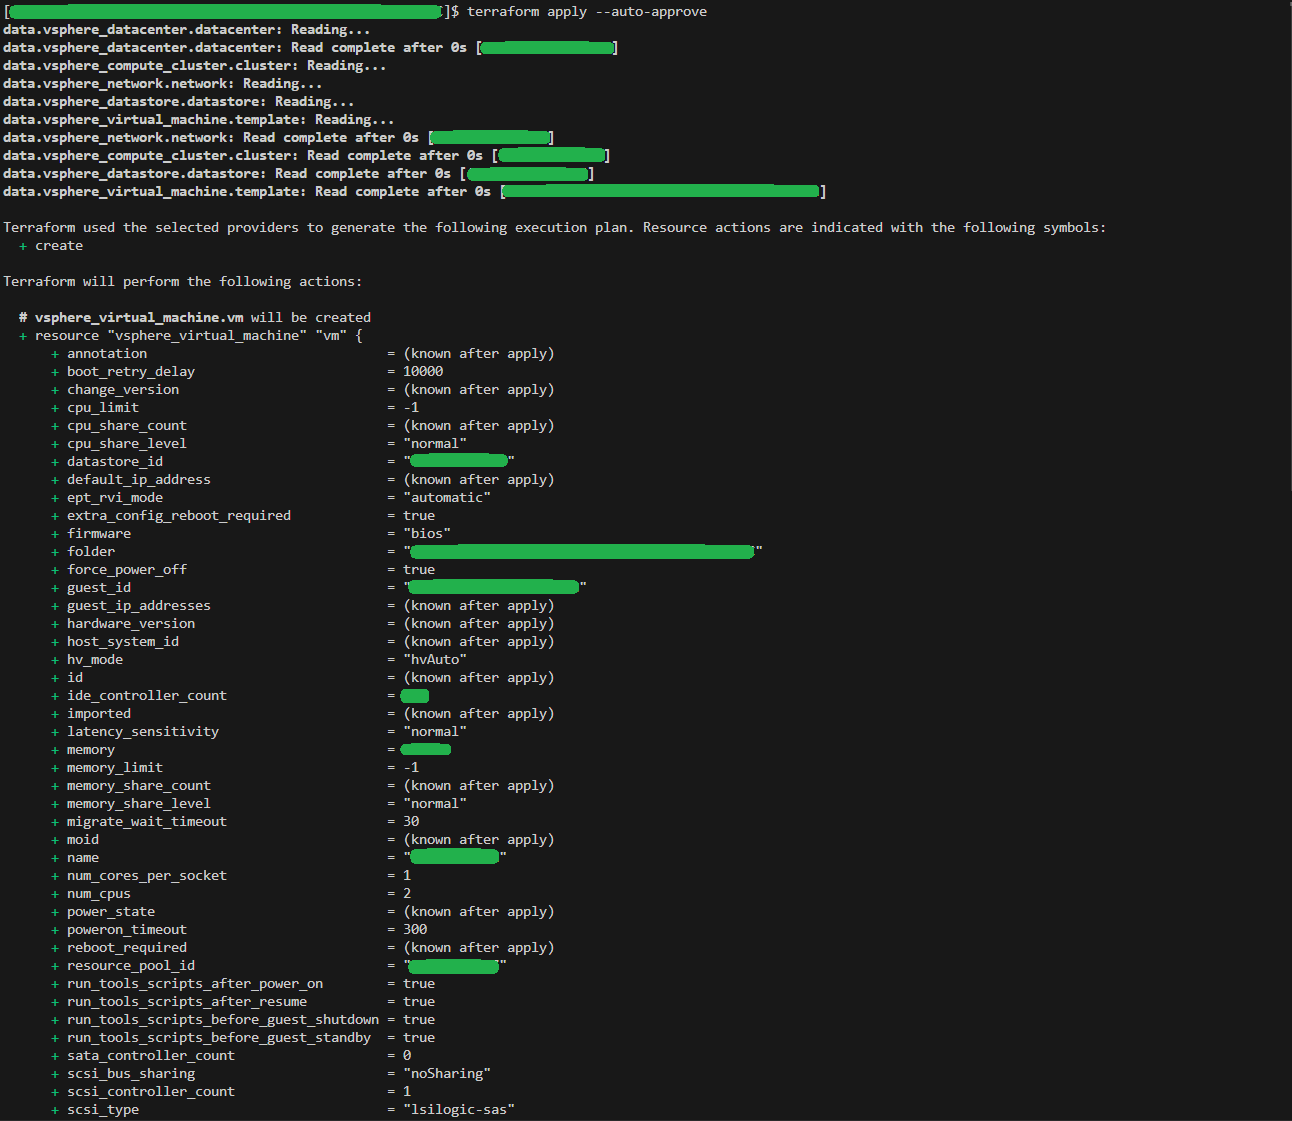
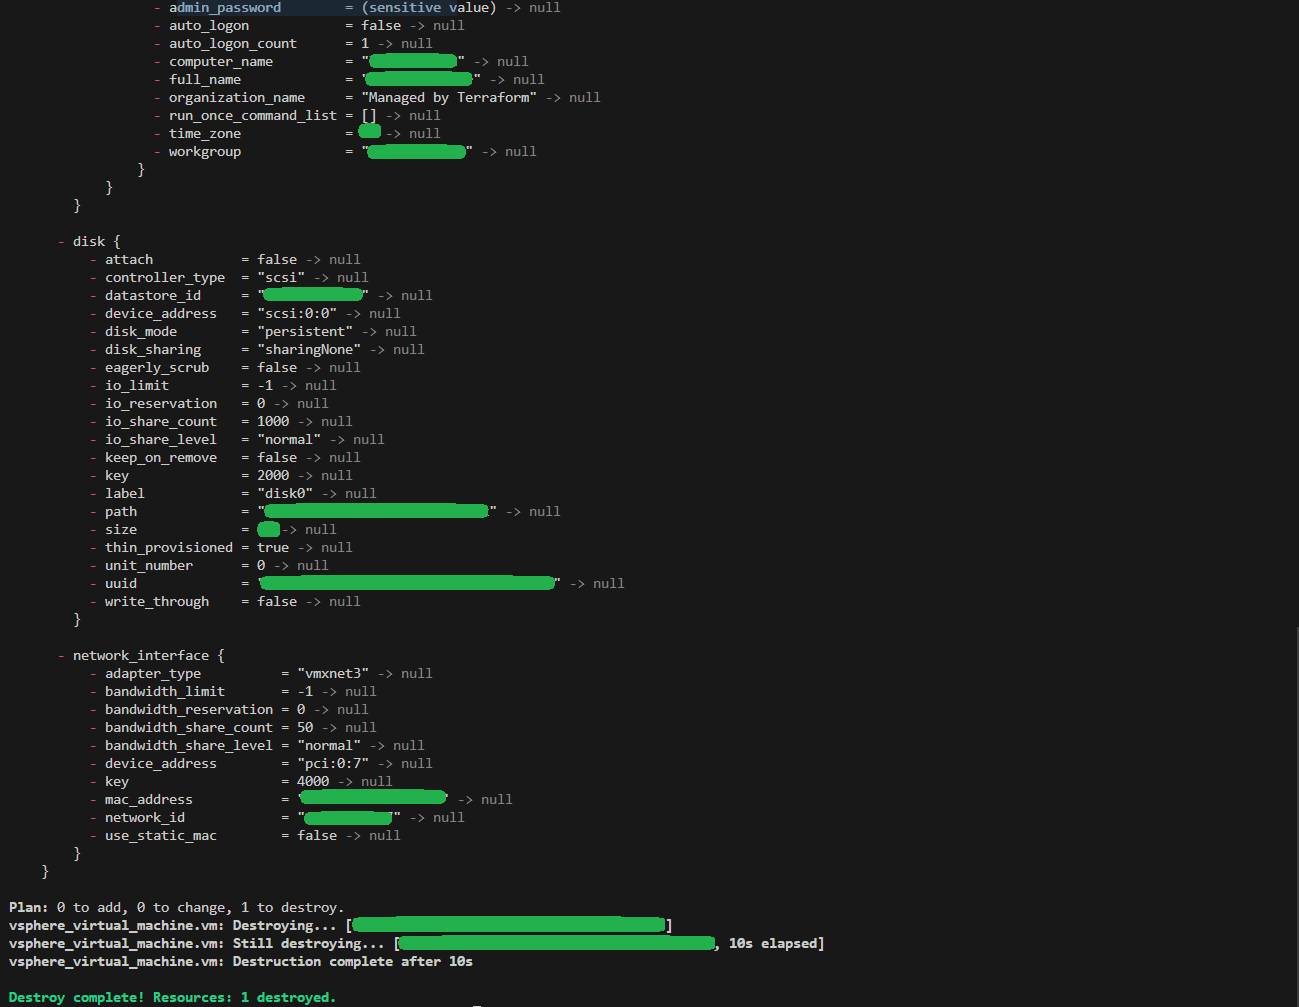
(4) Last but not least, we can run terraform destroy if we need to destroy all infrastructure resources defined in our Terraform configuration. terraform destroy compares the current state of the infrastructure with our configuration to determine what resources need to be deleted. The –auto-approve switch can also be used with this command to avoid having to confirm the changes.
terraform destroy --auto-approve
Well, that’s a wrap. We installed Terraform on Windows, created the 3 files, initialized our terraform project, reviewed plan to clone virtual machine from template in vCenter, applied it to our infrastructure and then destroyed it, all via terraform code, on Windows let’s add! Well done!
Found this helpful? Have feedback? Comment below… ↓